FREE shipping on US orders over $45!
Your cart is empty!
FREE 1-year warranty on all blenders and juicers
More to Consider


Taxes and discounts calculated at checkout.


Free shipping on US orders over $45.
Free 1-year warranty on all blenders and juicers.

FREE shipping on US orders over $45!
FREE 1-year warranty on all blenders and juicers
More to Consider
Taxes and discounts calculated at checkout.
nutribullet
May 29, 2026
nutribullet
Nutrition made easy. At nutribullet, we believe that good nutrition has the power to transform lives. Our products, from our blenders to our blends, make nutrition fun and hassle-free for any lifestyle. So, if you're looking for a simple way to be healthy, we've got you covered.
Cleaning a blender is one of those little kitchen tasks that people often make much more complicated than it needs to be. Some of us give our attachments a quick rinse and hope for the best, while others turn it into a whole production after every smoothie.
Thankfully, keeping your blender clean is actually pretty simple once you have a good routine.
In most cases, there are only two easy methods you need: a quick self-cleaning option for everyday smoothies, shakes, soups, and sauces, and a deeper hand-wash method for thicker blends, stubborn residue, or the occasional reset clean.
This guide walks through both so you can keep your blender fresh, clean, and working beautifully — without spending extra time scrubbing at the sink.
Not every blend requires a deep scrub.
For everyday smoothies, protein shakes, soups, or sauces, the self-cleaning method is usually all you need. It’s fast, simple, and takes less than a minute.
For thicker mixtures like nut butters, oily dressings, curry sauces, or heavily spiced recipes, a deeper hand-wash works better. It’s also a smart weekly maintenance habit if you use your blender frequently.
Here’s the simple breakdown:

This is the go-to cleaning method for most everyday blends.
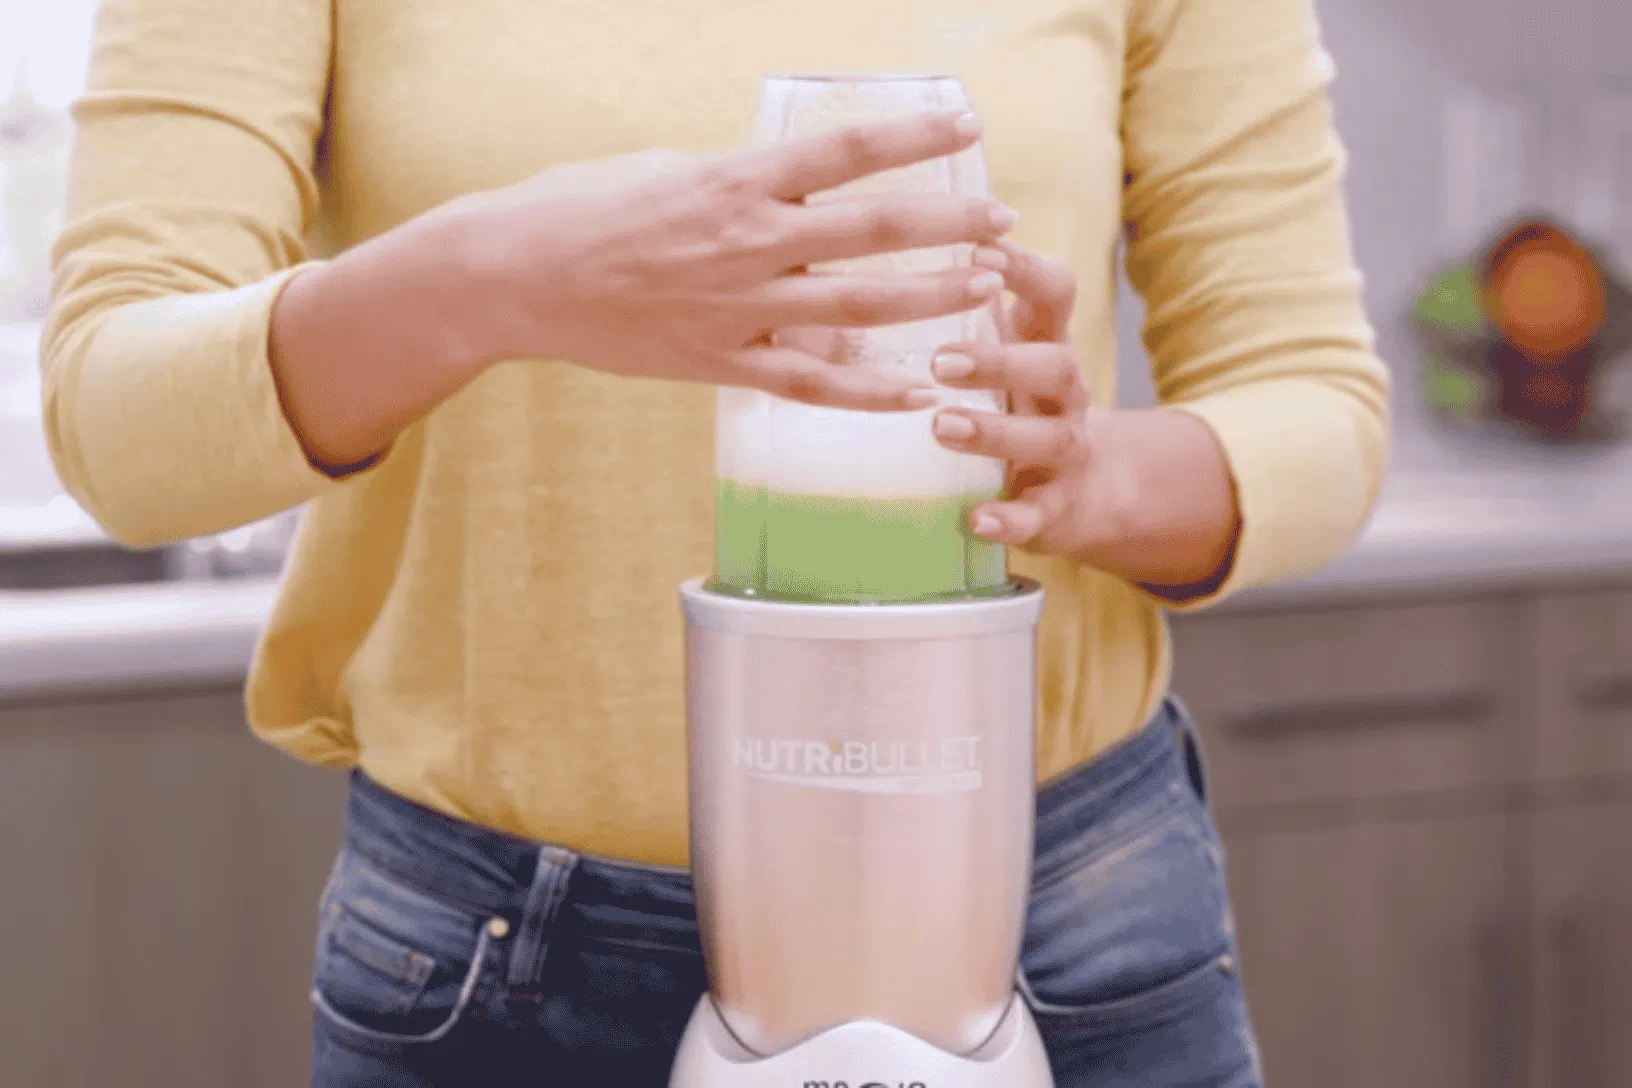
If you’ve just made a smoothie, shake, soup, salsa, or sauce, self-cleaning is usually enough to fully clean your full-sized blender pitcher, blender jar, or personal blender cup — and it takes less than a minute.
As soon as you finish blending, empty out the remaining contents and give the pitcher/cup a quick rinse.
This step matters more than people realize. Residue becomes much harder to clean once it dries onto the sides or around the blades. A fast rinse immediately after use prevents buildup and makes the rest of the process incredibly easy.
When cleaning a full-size blender, fill the blender pitcher or blender jar about halfway with warm water, then add 2–3 drops of dish soap. That’s it — no scrubbing or disassembling required.
For portable blender cups, use one drop of soap and only use room temperature or cold water to clean. It is unsafe to blend warm or hot ingredients in a personal blender (including portable blender) cup with a sealed blade, as steam released during blending can build pressure inside, which can force the cup and blade apart and lead to injury and/or property damage.
Secure the lid or blade firmly and run the blender on high for 30–60 seconds.
The spinning motion of the soapy water creates a vortex that reaches the sides and corners of the vessel, and underneath the blades, cleaning without requiring direct contact. Some blenders also include a dedicated self-cleaning or pulse setting you can use for this exact purpose.
For everyday blending, this method is usually enough to clean your blender.
Pour out the soapy water and rinse your blender pitcher, cup, and/or blade thoroughly with warm water, then let everything air dry, or dry with a clean towel. Be sure to rinse the lid and any removable components as well.
The motor base of your blender should always be cleaned separately, with a damp cloth.
Never submerge the motor base in water, as this can permanently damage the motor and electrical components it houses. A quick wipe after each use helps to prevent sticky residue from building up around buttons and controls.
If your blender smells like garlic, protein powder, spices, or yesterday’s smoothie, try adding half a squeezed lemon to the warm, soapy water before blending.
The citric acid helps cut through lingering odors naturally and will help to get your blender smelling fresh and clean.

Some blends need more than a quick rinse cycle.
Nut butters, thick sauces, oily dressings, curry pastes, and heavily spiced foods can leave behind residue that builds over time. A deeper hand-wash every few uses — or at least once a week for regular users — helps keep your blender in top condition.
Before doing any deep cleaning, unplug the blender.
This should be a non-negotiable habit any time you’re handling blades or disassembling blender parts.
Separate the blender pitcher and lid or cup and blade from the base so you can clean everything thoroughly.
One important note: never remove the gasket (rubber seal) from the blade assembly.
The gasket is not designed to be detached regularly, and removing it over time can loosen the seal, reduce its effectiveness, and potentially lead to irreparable leaks.
Fill your blending vessel with water and add a small amount of white vinegar.
Let it soak for about 10–15 minutes.
This helps loosen stuck-on residue and neutralize odors naturally without harsh cleaning chemicals.
After soaking, use a soft sponge and a small amount of dish soap to gently clean the inside of the vessel and around the blades.
Avoid abrasive scrubbers like:
These can scratch plastic or glass surfaces and may damage blade finishes over time.
Rinse every component carefully to remove all soap and vinegar residue.
Leftover residue can affect the taste and smell of your next blend, especially with smoothies and shakes.
Allow every part to dry fully before reassembling the blender.
Putting the blender back together while still damp can trap moisture and contribute to mildew or odor buildup over time.

Keeping your blender clean is surprisingly simple when you have the right routine — and it helps even more when your blender is designed for easy everyday use.
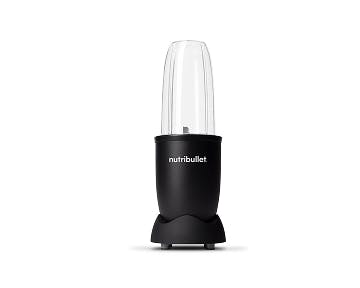
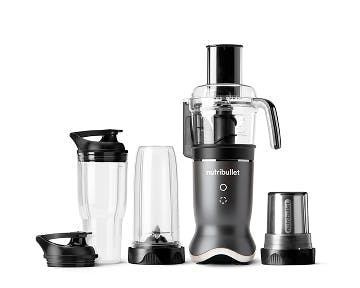
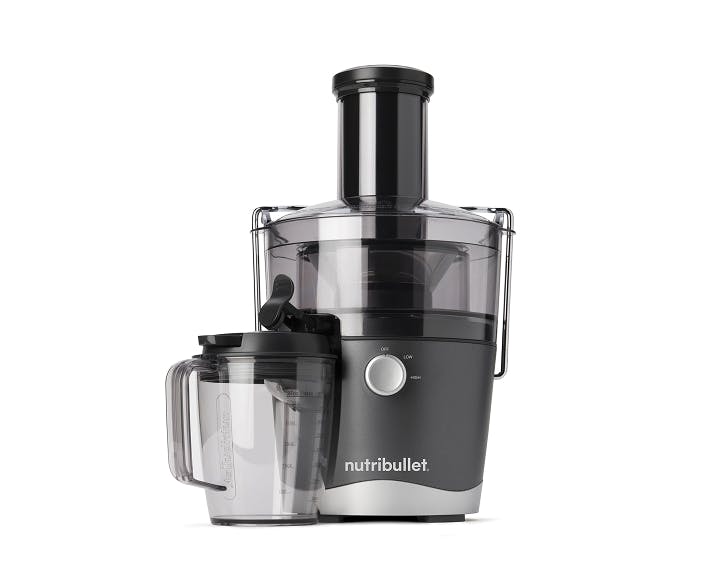
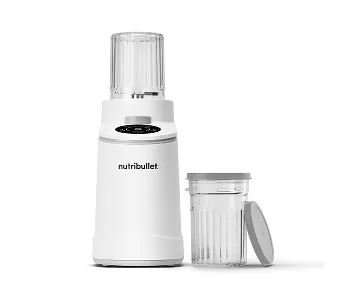
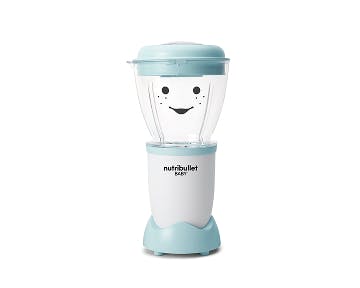
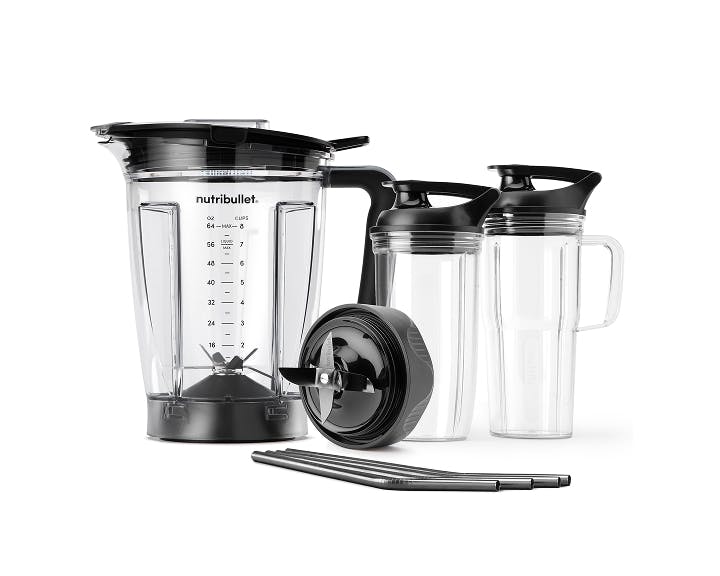
Whether you’re making daily smoothies, protein shakes, soups, sauces, or frozen drinks, nutribullet blenders are built for fast blending and simple cleanup. From compact personal blenders to larger full-size blender models, nutribullet offers options designed to fit a wide range of kitchens and routines.
Explore the full nutribullet blender collection to find the right model for your daily routine and keep blending with confidence.
Many blender pitchers and cups are dishwasher-safe, but it’s always best to check your model’s care instructions first.
Keep in mind that frequent dishwasher use can sometimes cloud plastic vessels over time. Hand washing is often gentler on plastic and can help maintain clarity and longevity.
For regular users, a deep clean every few uses — or at minimum once a week — is a good rule of thumb.
If you frequently blend nut butters, oily sauces, thick smoothies, or strongly spiced foods, you may want to deep clean more often.
Lingering odors usually come from residue trapped around the blade assembly or from moisture that didn’t fully dry.
Using the lemon tip from the self-cleaning method and the vinegar soak from the deep-clean method can help eliminate stubborn smells naturally.
Only certain removable components should come into contact with water.
The blender pitcher/cups, lid, and blade assembly are typically safe to run under water, but the motor base should never be submerged in water. The base contains electrical components and should only be wiped with a damp cloth.
No — the gasket should not be removed.
This part is designed to remain in place. Removing the gasket repeatedly can loosen the seal over time, reducing its effectiveness and potentially causing irreparable leaks. Instead, clean gently around the blades and gasket area using a soft sponge or brush.
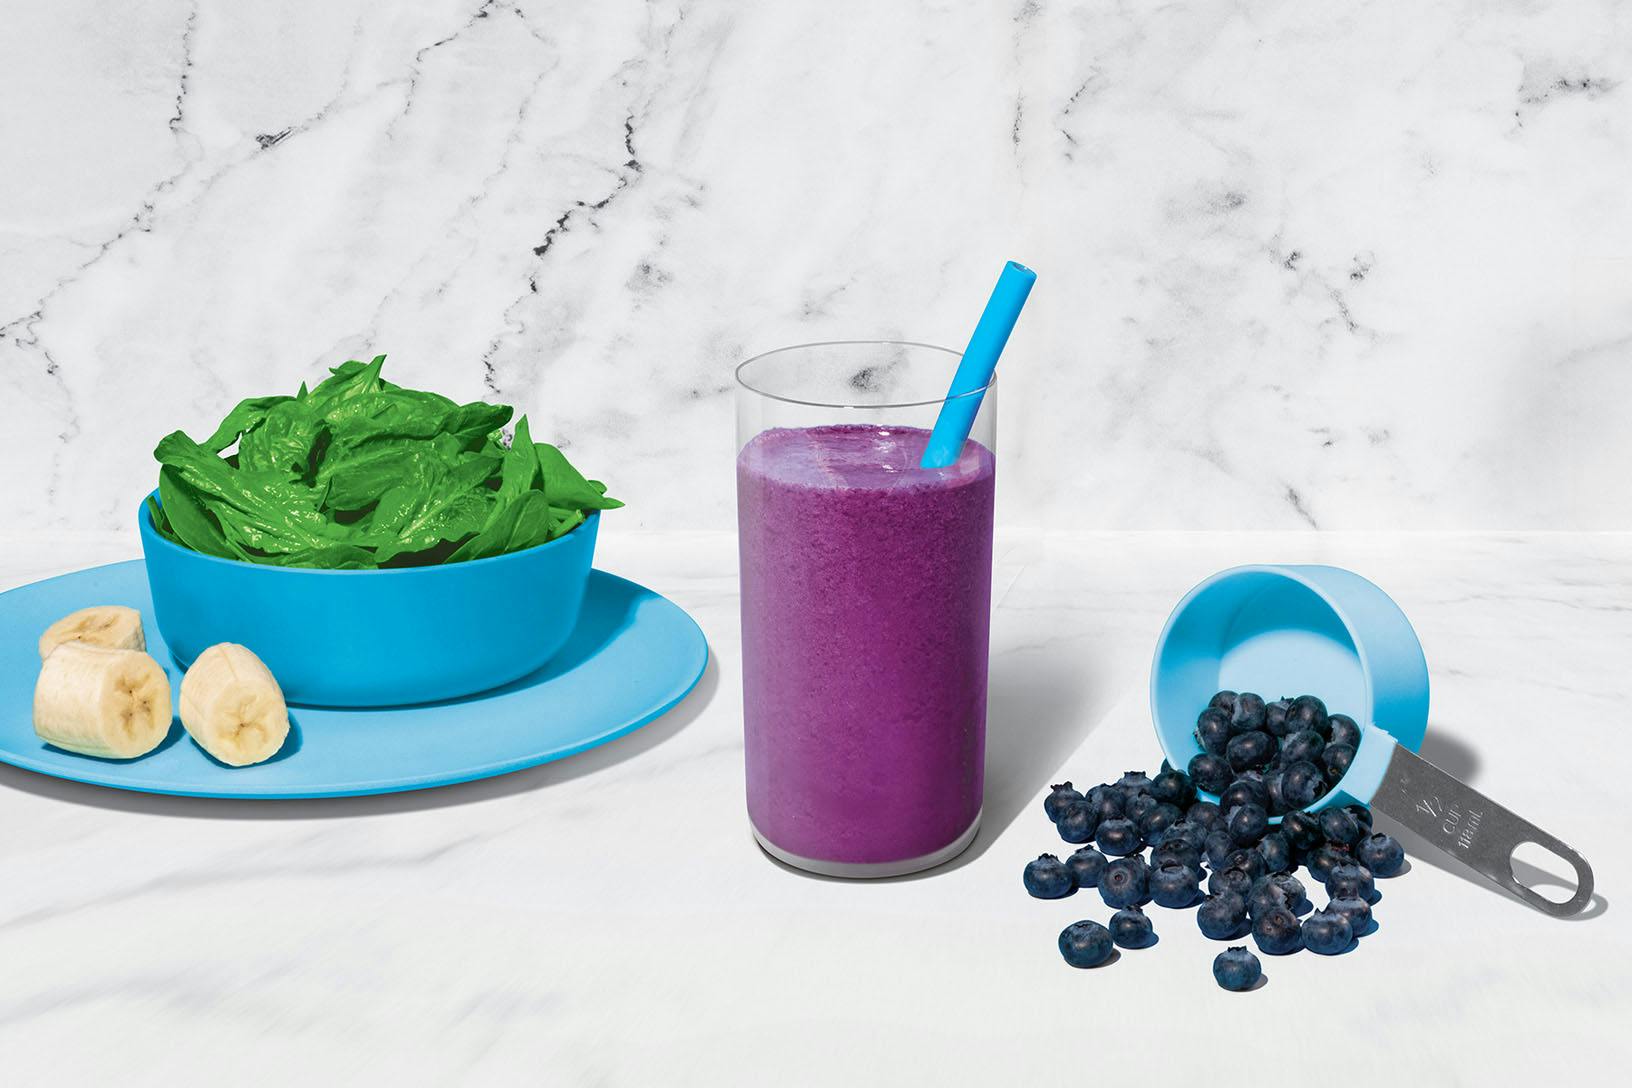
Is there such a thing as a perfect smoothie? This sweet medley certainly makes a strong case. With a classic combination of blueberries, banana, and spinach, this superstar smoothie provides a powerful nutrient boost!
Consider this blend the little black dress of nutribullet smoothies: it never goes out of style. To help keep your energy stable throughout the day, aim to balance your meals and snacks with high-quality protein, healthy fats, and fiber-filled carbs – like this combo of Greek yogurt, peanut butter, fruit, and veggies. There’s a reason this one is always on-trend.
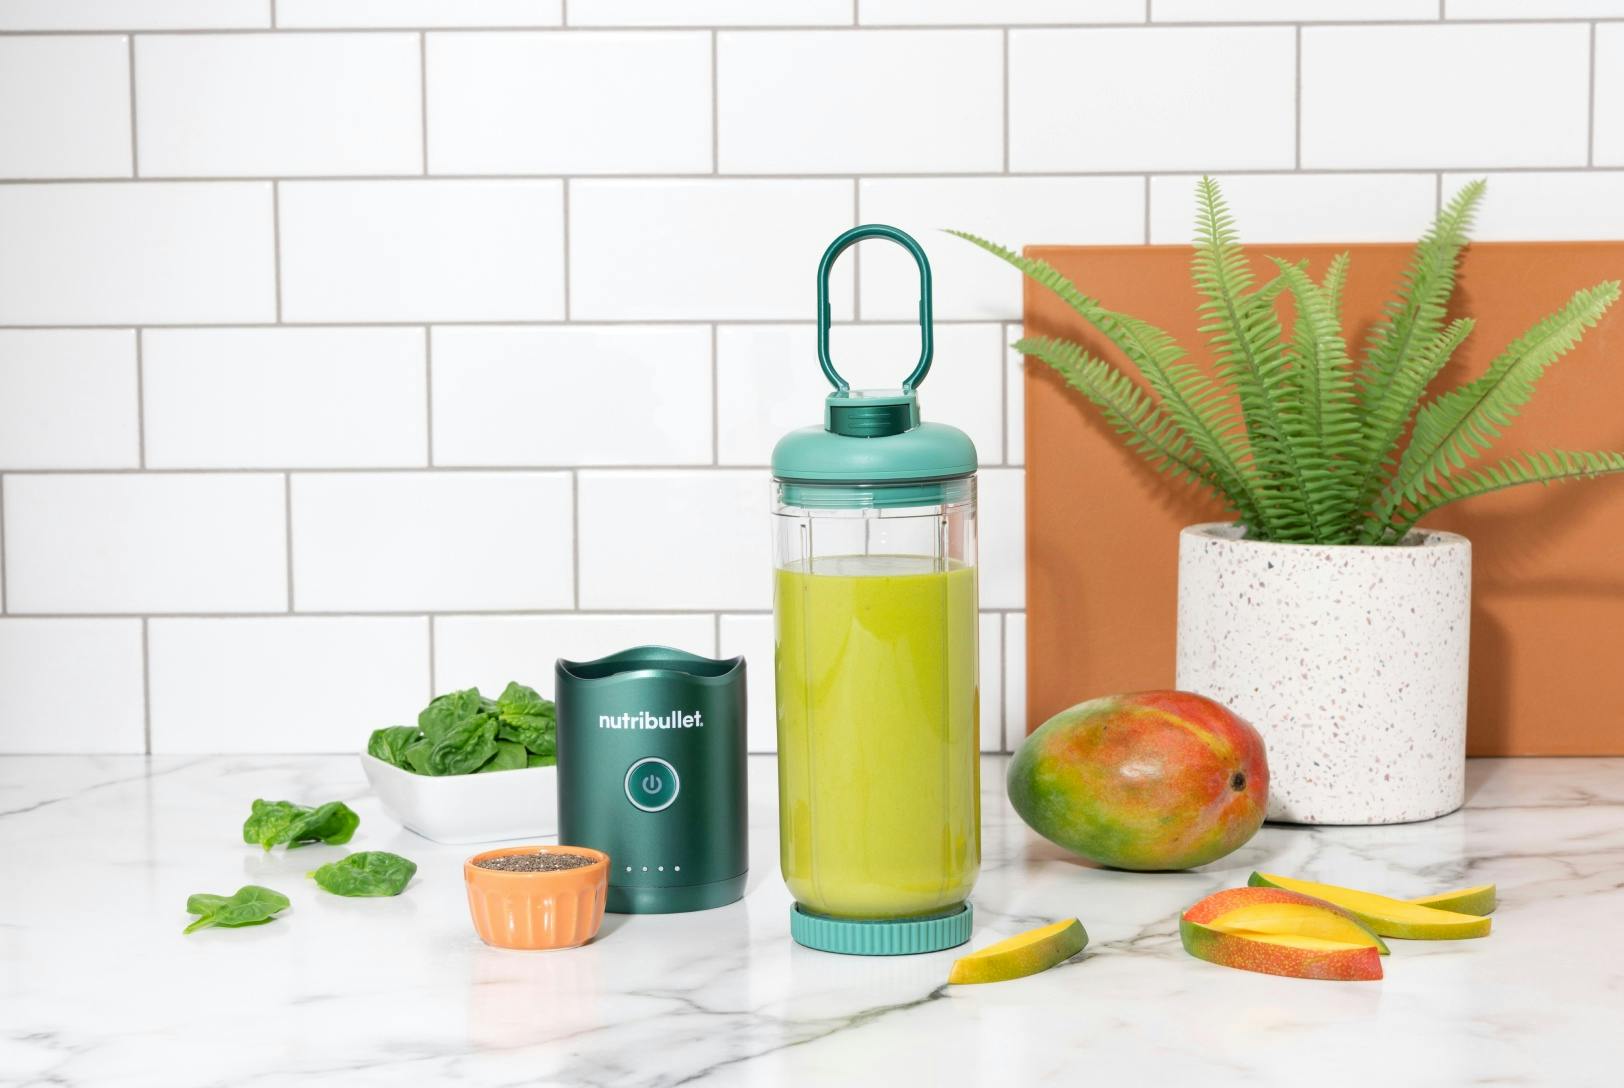
Start your day on a high note with this nutritiously cheerful blend of greens, mango, banana, and chia seeds.