FREE shipping on US orders over $45!
Your cart is empty!
FREE 1-year warranty on all blenders and juicers
More to Consider


Taxes and discounts calculated at checkout.


FREE shipping on US orders over $45!
FREE 1-year warranty on all blenders and juicers
More to Consider
Taxes and discounts calculated at checkout.
nutribullet
October 12, 2026

nutribullet
Nutrition made easy. At nutribullet, we believe that good nutrition has the power to transform lives. Our products, from our blenders to our blends, make nutrition fun and hassle-free for any lifestyle. So, if you're looking for a simple way to be healthy, we've got you covered.
If you’ve ever poured a glass of fresh juice and wondered, “Why is my juice foamy?”, you’re not alone. Foam when juicing is a normal byproduct. It’s made up of tiny pockets of air that become trapped by natural pulp, pectin, proteins, and other plant compounds in the produce.
In other words, foam doesn’t mean your juice is spoiled or that something is wrong with your juicer.
Foam tends to be more noticeable with fast, high-speed juicing, which is a common way to make fresh juice at home. Fortunately, there are several simple ways to reduce it—or remove it completely.
Here’s why foam forms, which ingredients tend to create the most, how to reduce it while juicing, and how to handle and store your juice once it’s made.
Juicing does more than extract liquid and nutrients from fruits and vegetables. The process also introduces air into the juice.
When air gets incorporated into juice, natural compounds such as proteins and pectin can help stabilize the tiny air bubbles. Rather than popping immediately, the bubbles can collect at the surface and form the layer of foam you see in your glass.1
The effect is particularly noticeable with fast-spinning juicing methods, such as centrifugal juicers. Higher-speed processing can incorporate more air into the juice than slower, crushing-style processing, like that of masticating juicers. That’s one reason the amount of foam can vary depending on the juicing method and the ingredients you’re using. For more, check out our blog on centrifugal vs. masticating juicers.
It’s also important to distinguish foam from oxidation.
Oxidation can happen when freshly extracted juice is exposed to oxygen, potentially affecting its color, flavor, and freshness over time. But the foam itself is primarily trapped air, not evidence that your juice has gone bad.
So if you see a layer of froth immediately after juicing, there’s generally no reason to worry.
If you juice often, you may have noticed that some produce creates considerably more foam than others.
That’s because fruits and vegetables don’t all have the same levels of pulp, fiber, pectin, proteins, and other natural compounds that can help stabilize air bubbles.
Three common foam-makers are:
Want an easy recipe tweak? Try swapping a soft, sweet apple for a firm, tart apple such as Granny Smith. You may notice significantly less foam without changing anything else about the recipe.

You don’t have to eliminate foam completely to make great juice, but a few small adjustments can help reduce it.
If your juicer has multiple speed settings, try using the lowest effective speed for the produce you’re processing. Lower speeds can reduce the amount of air incorporated into the juice.
It can also help to feed produce steadily rather than forcing a large amount through the chute at once. Alternating softer, watery ingredients such as cucumber or celery with firmer produce such as carrots can help keep the machine processing smoothly rather than repeatedly working through the same dense ingredients.
The goal is a steady flow—not a race.
A little preparation can make juicing easier and may help reduce foam.
Chill your produce before juicing. Cold ingredients can modestly reduce foaming, while also helping your finished juice stay fresher and refreshingly cold.
Cut larger fruits and vegetables into manageable, relatively consistent pieces. This allows them to feed through the juicer more smoothly rather than catching or requiring excessive pressure.
And as always, follow your juicer’s instructions for which produce needs to be peeled, cored, or cut before juicing.
Once your juice is extracted, avoid adding more air to it.
Pour gently down the side of your glass instead of splashing it in. Try not to shake the container or repeatedly transfer the juice between glasses, pitchers, or bottles.
You can also simply let the juice sit for two to five minutes. Given a little time, the foam will naturally rise to the top and separate from the liquid underneath.
Sometimes the easiest solution is simply to wait.
Already have a glass full of frothy juice? You have a few easy options.
It’s a small design feature that can make a noticeable difference if you prefer your juice smooth and relatively foam-free.

Foam itself isn’t a food-safety problem. What matters more is how you handle and store the juice after it’s made.
Fresh juice should be transferred promptly to a clean, airtight container and refrigerated. Leaving as little air space as practical can help limit oxygen exposure, which may slow changes in flavor and color.
But there’s an important distinction: reducing air exposure doesn’t sterilize juice or make it safe to store indefinitely. Fresh juice is still perishable, so good refrigeration and appropriate storage times matter.
For its fresh-juice guidance, nutribullet recommends drinking homemade juice within 24–48 hours and storing it properly in the meantime.
If your juice changes noticeably in smell, appearance, or taste, don’t rely on the absence of foam as an indicator that it’s still good. When in doubt, discard it.
Foam is simply part of the juicing process, especially when you’re using a fast, efficient juicer. It’s not a sign that your machine is broken or that your produce is bad.
If you want less foam, start with the easiest changes:
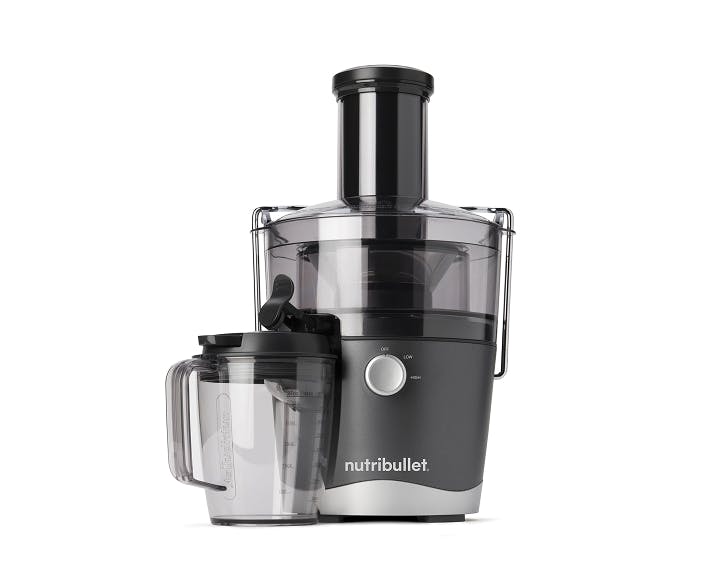
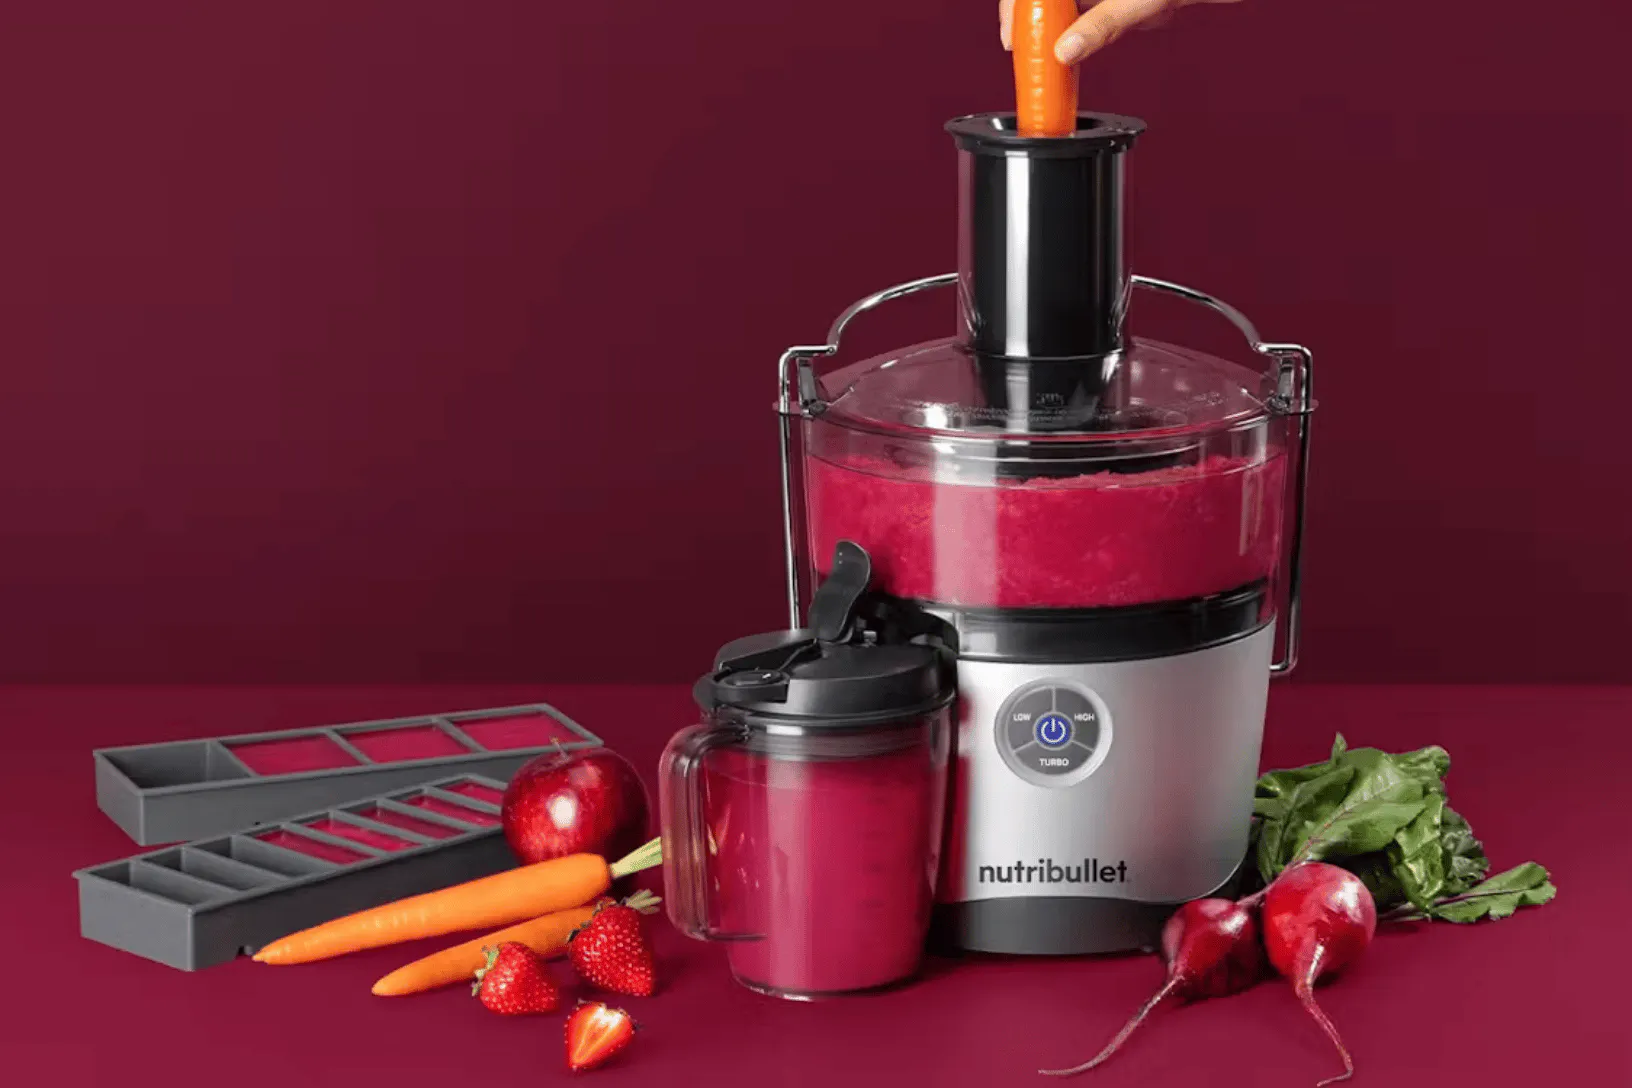
And if you’re using the nutribullet®Juicer or Juicer Pro, the built-in froth separator takes much of the work out of the final step by helping keep foam out of your glass.
Ready to make more fresh juice? Explore nutribullet® juicers for different juicing options, or check out a mini juicer for a compact option. And when you’re in the mood for smoothies instead, explore nutribullet® blenders for another easy way to turn fresh produce into something delicious.
References:
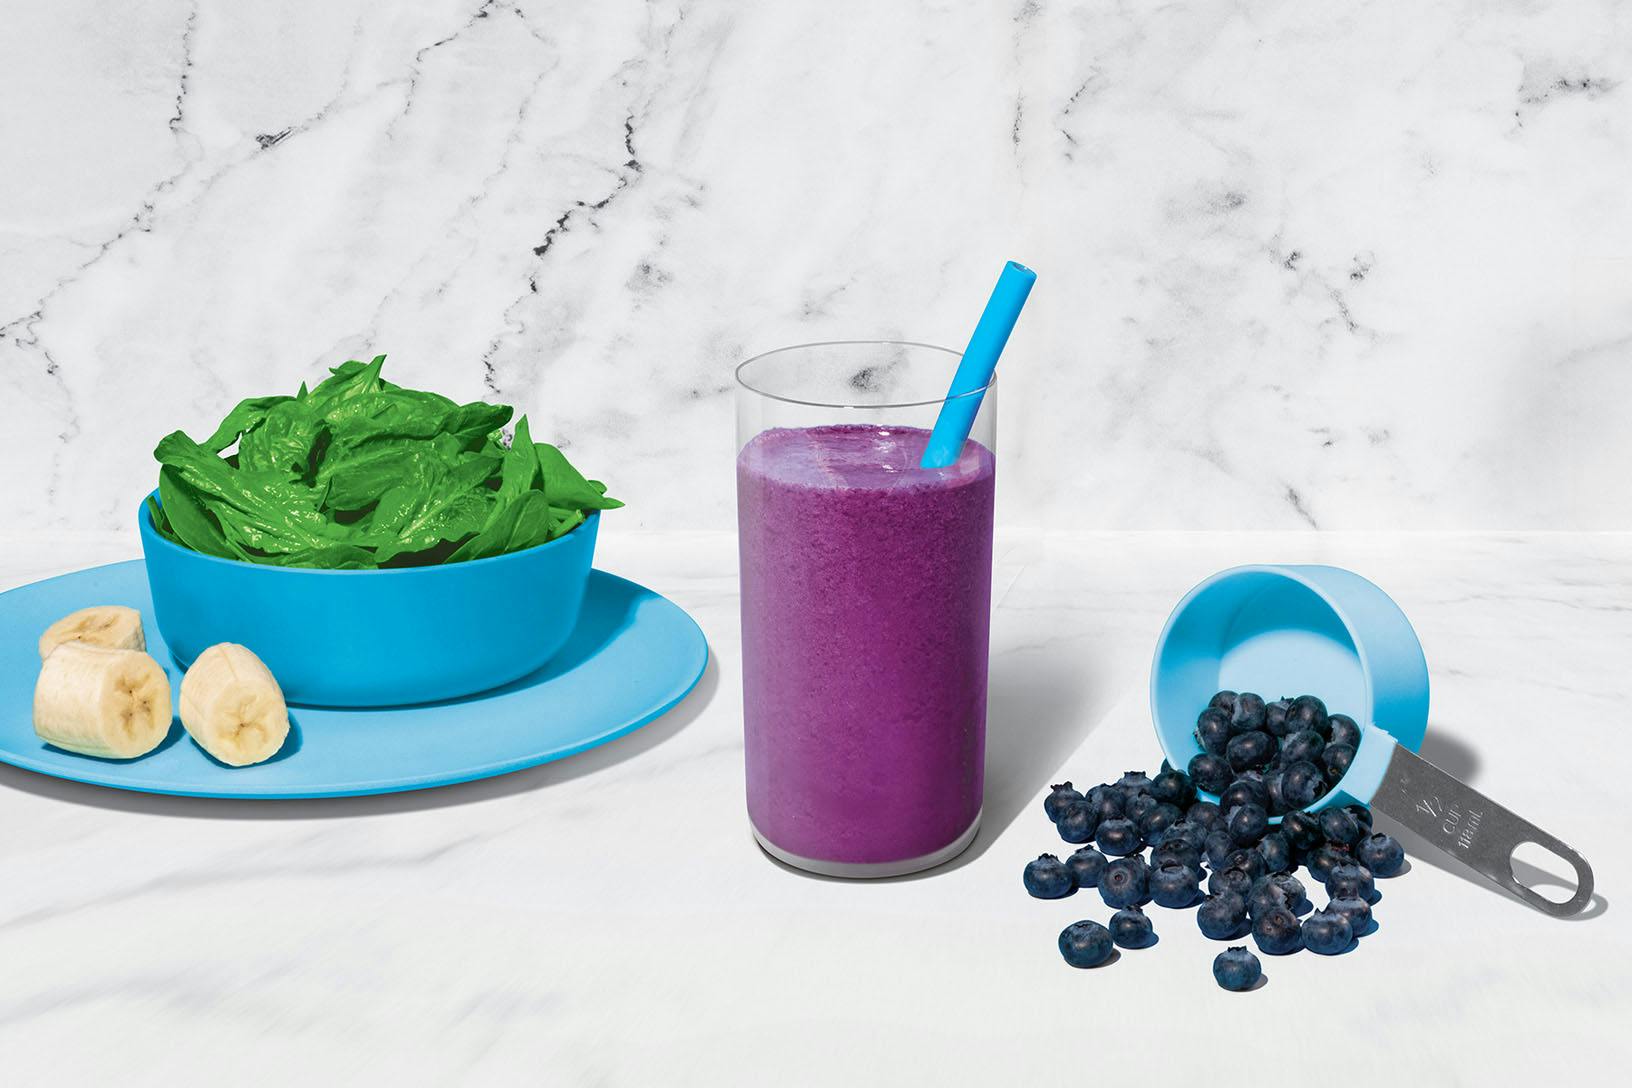
Is there such a thing as a perfect smoothie? This sweet medley certainly makes a strong case. With a classic combination of blueberries, banana, and spinach, this superstar smoothie provides a powerful nutrient boost!
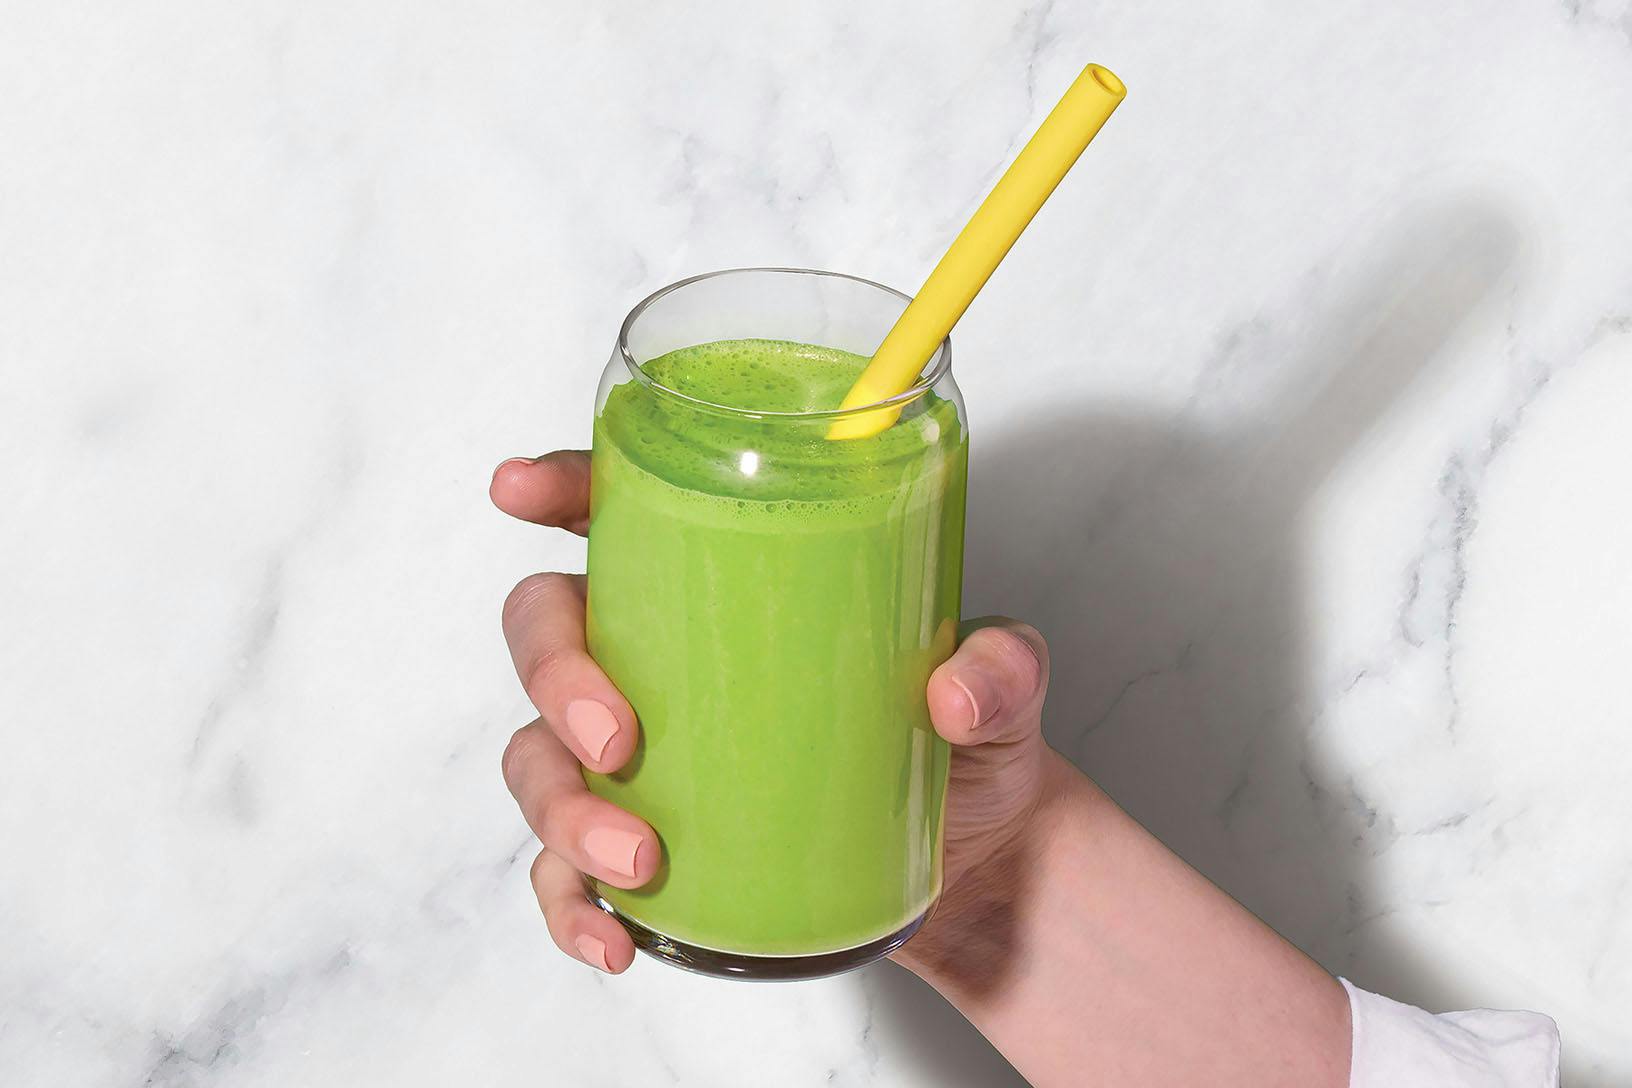
Consider this blend the little black dress of nutribullet smoothies: it never goes out of style. To help keep your energy stable throughout the day, aim to balance your meals and snacks with high-quality protein, healthy fats, and fiber-filled carbs – like this combo of Greek yogurt, peanut butter, fruit, and veggies. There’s a reason this one is always on-trend.
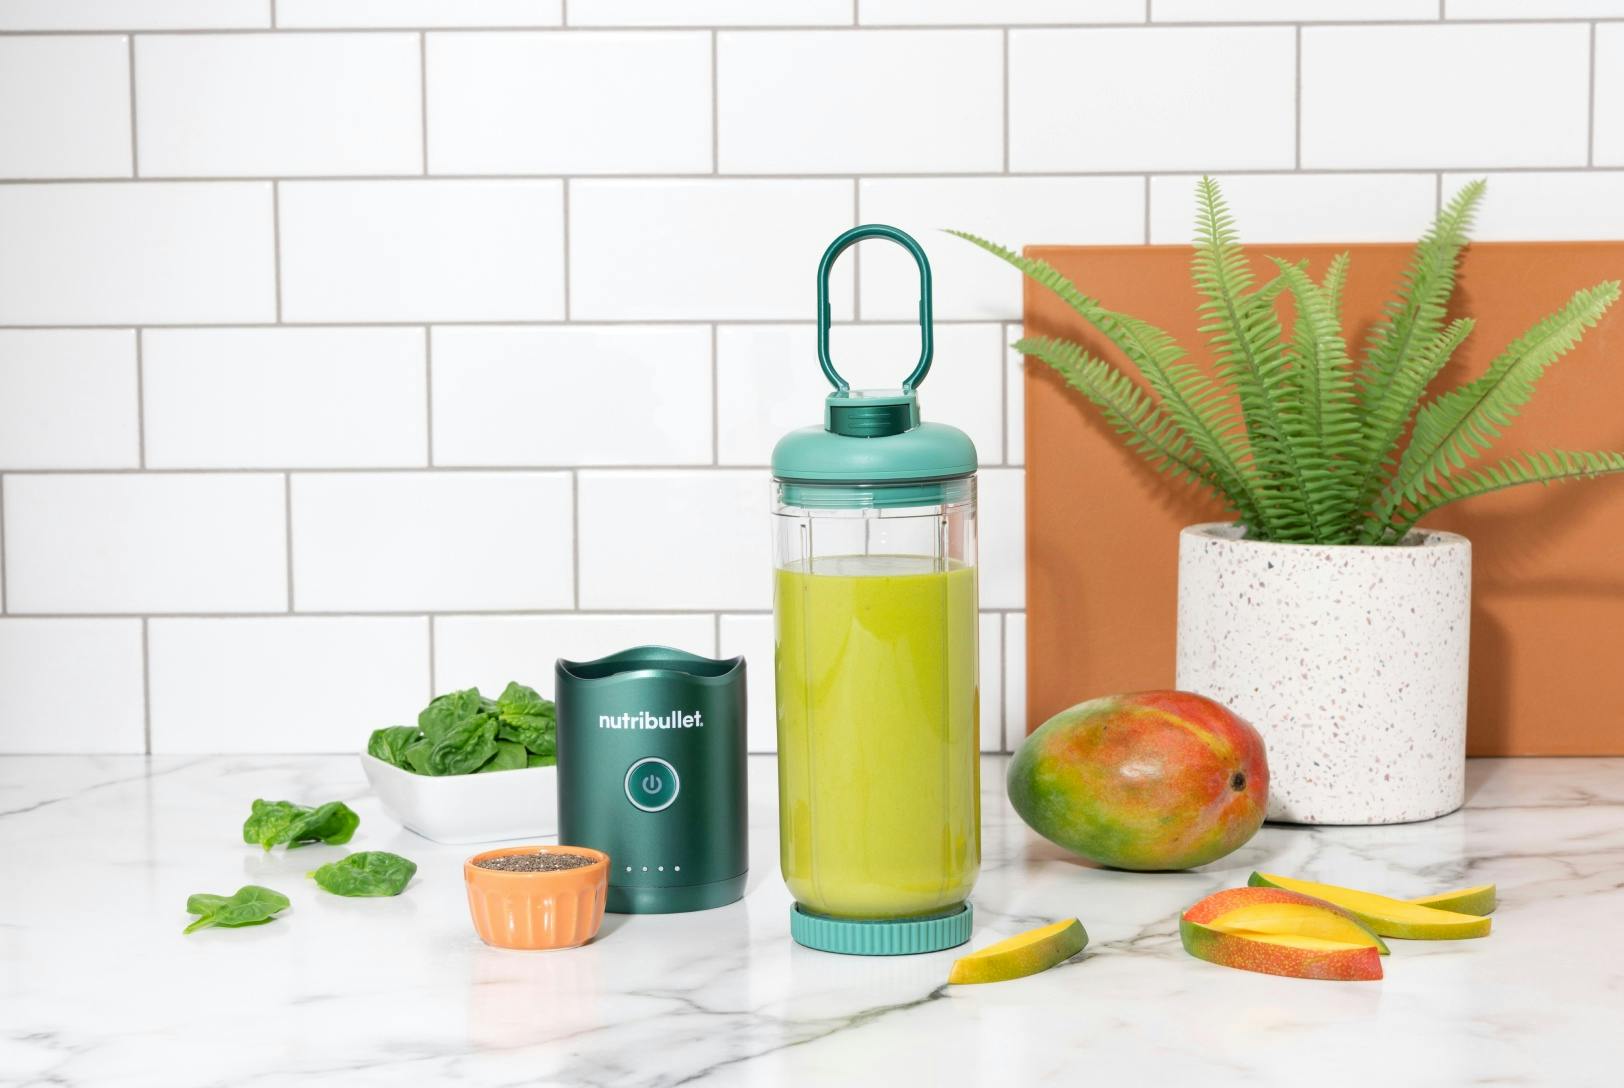
Start your day on a high note with this nutritiously cheerful blend of greens, mango, banana, and chia seeds.