FREE shipping on US orders over $45!
Your cart is empty!
FREE 1-year warranty on all blenders and juicers
More to Consider


Taxes and discounts calculated at checkout.


FREE shipping on US orders over $45!
FREE 1-year warranty on all blenders and juicers
More to Consider
Taxes and discounts calculated at checkout.
Lauren Salter
July 13, 2026

Lauren Salter
As Senior Director of Global Product Development, Lauren plays a major role in guiding research, development, manufacturing, and release for every nutribullet® product. She knows every nutribullet® appliance from the inside out and shares this knowledge as a blog contributor, providing expert insights on what our products do, how they work, and how to use them for maximum benefit in your own kitchen.
Most people use their blender for one or two things—usually smoothies or protein shakes—and rarely (or never!) tap into everything it can do.
A blender can be one of the most versatile tools in your kitchen. From churning out creamy soups and homemade sauces to frosty cocktails and fresh smoothies, a few simple techniques can dramatically improve your results and help you get more value from the blender you already own.
Whether you’re brand new to blending or looking to level up your blender usage, this guide covers everything you need to know to learn how to use your blender like a pro: setup, ingredient order, speed settings, troubleshooting, cleaning, tips and tricks, and more.
Before diving into technique, it’s helpful to understand the different types of blenders available, with personal and full-size being the two most common.
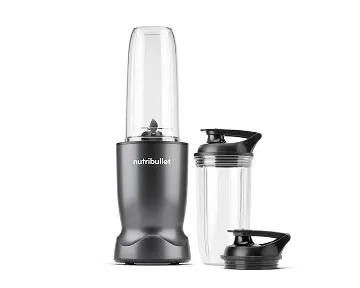
Personal blenders, like the nutribullet Pro®, are designed for single-serve or smaller portions. They’re ideal for dressings and dips, as well as smoothies and protein shakes you can blend and enjoy directly from the included blending cup.
Full-size blenders are typically built with a powerful motor, making them well suited for larger batches and are better suitedbest for soups, sauces, family-size smoothies, and meal prep recipes.
The good news? Most of the blending techniques in this guide apply to both.
A blender’s strengths are pureeing, emulsifying, and liquefying ingredients.
Blenders excel at turning fruits and vegetables into smoothies, transforming cooked vegetables into silky soups, and creating creamy sauces, dips, and dressings.
At the same time, it’s important to understand what a blender isn’t designed for. Most blenders are not grain mills, food processors, or dedicated ice crushers.
Knowing what your blender does best is one of the easiest ways to get professional-quality results at home.

A proper setup only takes a minute, but it can prevent spills, leaks, and frustration.
Place your blender on a flat, stable surface, leaving enough clearance around the blender before you begin.
For full-size models:
For personal blenders:
Having your ingredients ready before blending makes the entire process smoother and more efficient.
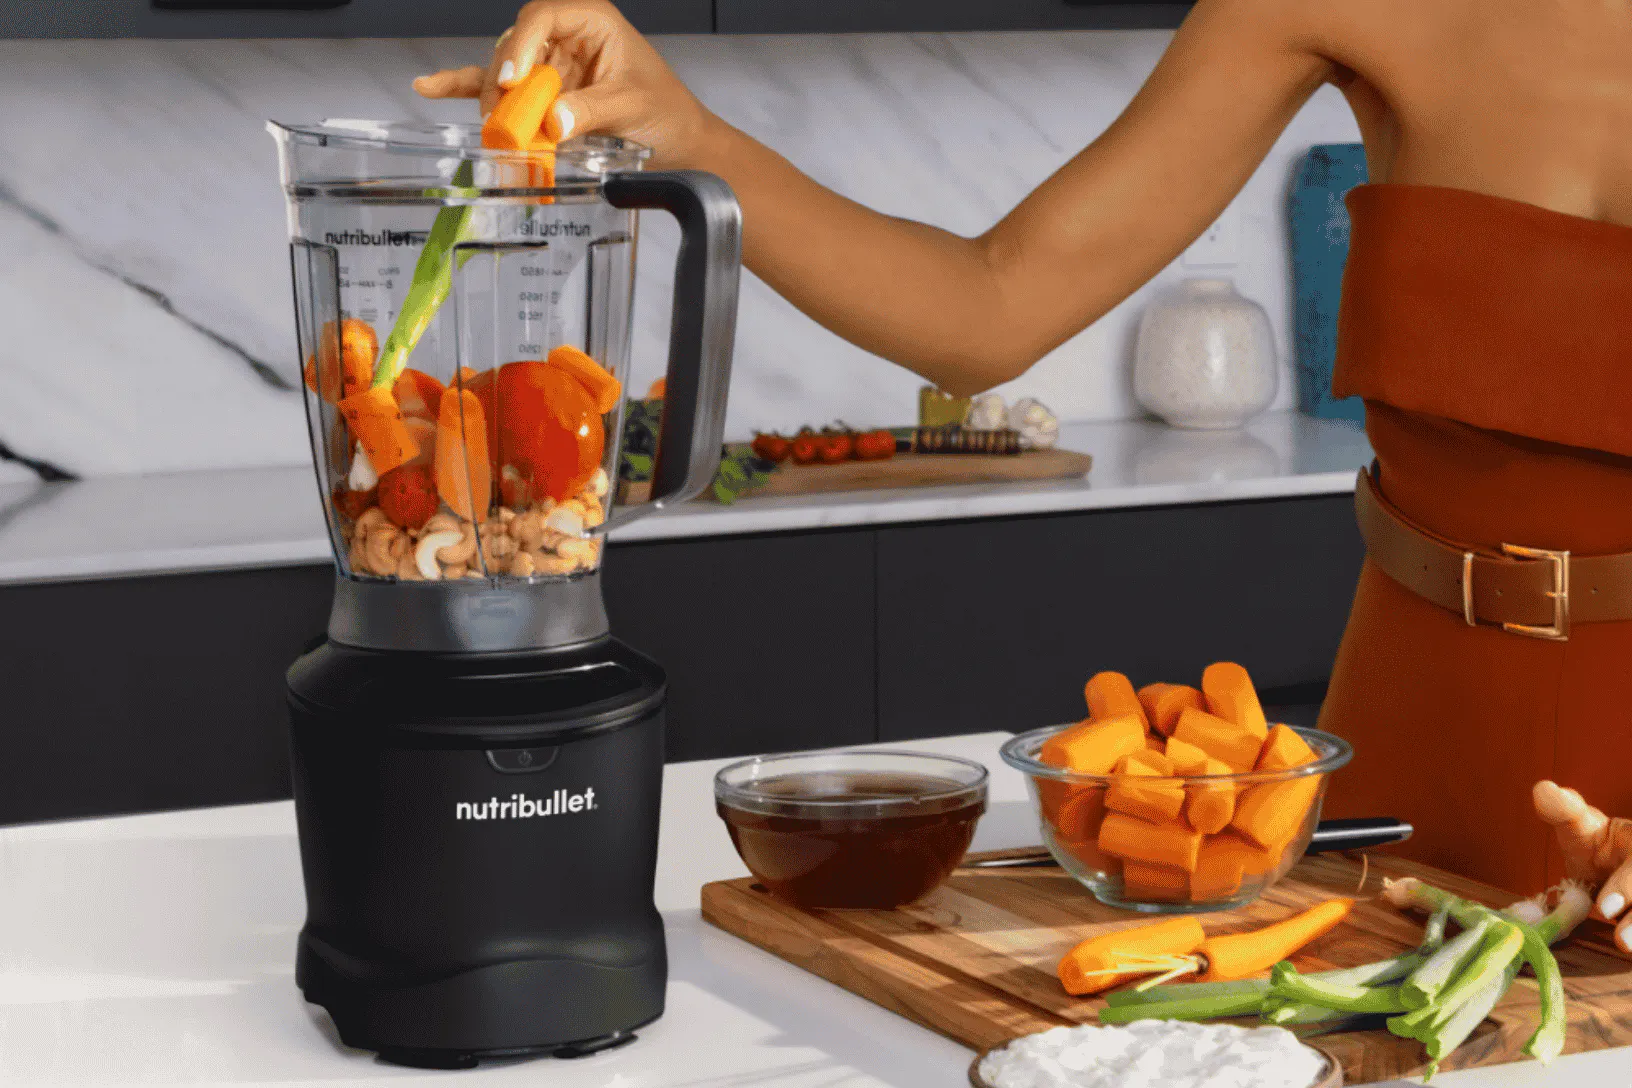
If there’s one technique that consistently improves blending results, it’s correctly layering your ingredients.
Proper layering helps the blades work through ingredients more efficiently, reduces air pockets, and creates a smoother blend with less strain on the motor.
Start with leafy greens and vegetables.
Spinach, kale, romaine, cucumber, celery, and similar ingredients should go in first so they’re closest to the blade.
This helps break them down thoroughly before heavier ingredients enter the mix.
Add fresh or frozen fruit after your greens and vegetables.
Bananas, berries, mango, pineapple, apples, pears, and other fruits help weigh down lighter ingredients and create a stable base for blending. One of the best things about using a blender is that you don’t need to spend time finely chopping produce beforehand. A banana can be broken in half, an apple or pear can be quartered or sliced, and whole strawberries can go straight into the cup or pitcher.
If you’re using frozen fruit, you can often skip the ice altogether. Frozen fruit helps create a thicker, colder smoothie on its own, while preserving flavor. If you enjoy an extra-thick smoothie or smoothie bowl consistency, you can always add a small amount of ice later.
Next, add any nuts and seeds you’re using.
Almonds, walnuts, cashews, chia seeds, hemp seeds, and flaxseeds blend more effectively when they’re positioned closer to the blade than ingredients like ice. Adding them after the fruit helps ensure they have good contact with the blades while still allowing the blender to create a smooth, consistent vortex.
Add your liquid after the solids, up to or below the MAX fill line.
Whether you’re using water, milk, a dairy-free alternative, coconut water, juice, or another liquid of your choice, adding it at this stage allows it to gradually work through and loosen up ingredients, helping to create the vortex needed for smooth blending.
One important rule applies to every blender: never blend carbonated beverages.
Dry ingredients like protein powders, collagen, supplements, spices, and other boosts should go in just before the ice.
Ice is optional and should never exceed 25% of the total volume of your blending cup or pitcher.

Personal blenders usually only run at one speed, which is all that’s needed given their compact cup and blade assembly. If you’re using a full-size blender, however, matching the blender speed to the recipe is one of the easiest ways to achieve optimal texture.
Always begin at a lower speed and increase gradually.
Starting immediately at full power can force air pockets into the mixture, create splashing, and place unnecessary strain on the motor.
Allow the ingredients to begin circulating before increasing the speed.
High speed is your friend when you want a completely smooth finish. Running your blender on high is especially useful if your machine offers variable speed settings or presets built for smoothies and soups.
Try using it for:
Allow the blender to complete a full blending cycle whenever possible rather than stopping too early.
Pulse is often the most overlooked feature on a blender.
Short bursts of power give you greater control over the texture when you want some chunkiness rather than complete smoothness.
Use the pulse setting for:
Think of pulse as the setting that helps you customize texture rather than eliminate it.
Of course it makes smoothies, but there are many delicious uses for this essential kitchen tool. Here are some of the standouts.
Smoothies remain the most popular blender recipe type for good reason.
Follow the layering method, use enough liquid, and blend until smooth.
Frozen fruit often creates a creamier texture than fresh fruit while naturally chilling the drink.
Milkshakes come together the same way—just add ice cream and milk after your other ingredients for a thick, creamy result.
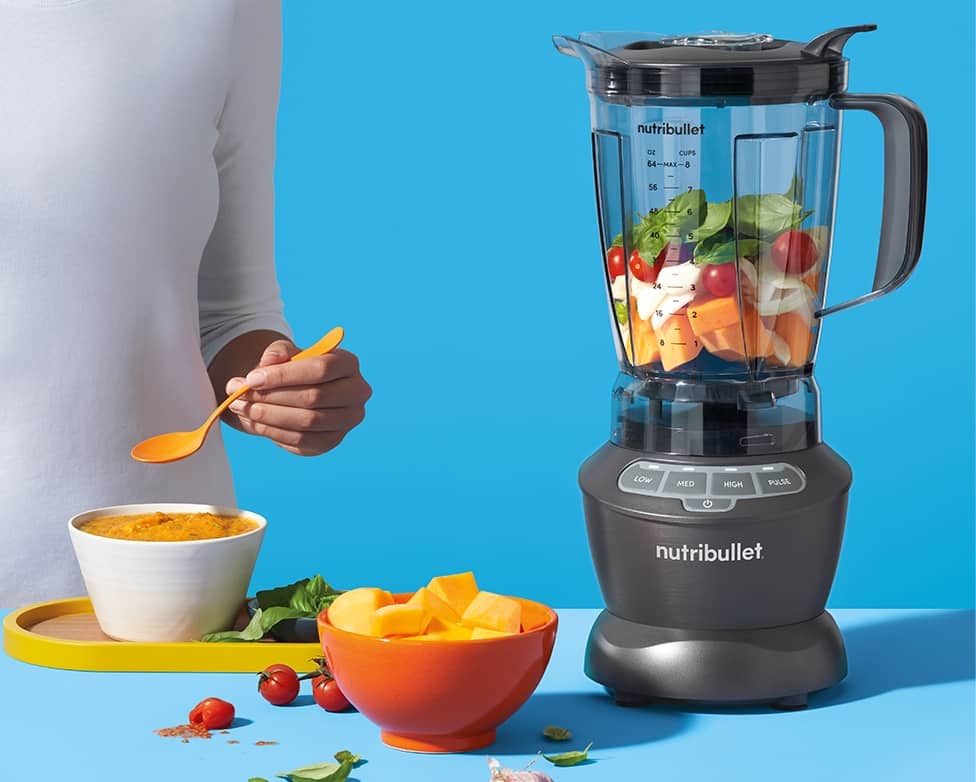
A full-size nutribullet blender is a great tool for soups and vegetable purees.
Always allow cooked ingredients to cool to room temperature before blending.
If you’re using a personal blending cup, avoid hot or warm ingredients entirely. Because the cup is sealed, steam has no way to escape and pressure can build inside, which can result in burst cups, injury, and damage to the machine or your home.
When blending warm ingredients, only use a full-size pitcher with a vented lid and never exceed the MAX fill line.
Homemade hummus, guacamole, bean dips, and nut butters come together quickly in a blender.
Many thick recipes and tough ingredients need more liquid than expected to establish a proper vortex, so add liquid gradually until the ingredients begin moving freely.
Blenders excel at emulsification.
For vinaigrettes and creamy salad dressings, start blending on low speed and slowly drizzle oil through the lid opening while the blender runs.
This technique helps create a smooth, stable emulsion. A splash of lemon juice or vinegar helps balance the flavor while the oil emulsifies.
Frozen margaritas, daiquiris, piña coladas, frosé, and fruit-forward mocktails all benefit from the blender’s ability to combine ice, fruit, and liquid into a smooth, slushy texture.
For the best results, start with chilled ingredients and add ice last so the blades can crush ice efficiently and create an even consistency.

Even experienced blender users run into common blender issues from time to time.
Fortunately, most are easy to solve.
This is almost always a liquid problem.
Add a small amount of liquid, replace the lid, pulse a few times, then resume blending.
Avoid running the motor against a stalled mixture. If your blender comes with a tamper, use the tamper to guide ingredients down toward the blade instead of adding extra liquid.
Too much liquid can quickly dilute texture.
For smoothies, add more frozen fruit, banana, avocado, or yogurt to thicken without sacrificing flavor.
The most common causes of chunky blends are not blending long enough or not adding enough liquid to keep ingredients moving freely around the blade.
Blending tough ingredients—like dense root vegetables or fibrous stalks—may also take a little extra time and liquid to break down completely.
If ingredients still aren’t circulating properly, add a small amount of liquid and blend again. In some cases, the way you layer ingredients can also affect how efficiently they move through the blend, particularly with thicker recipes.
If you’re still seeing chunks, check that there is enough liquid, make sure ingredients are moving freely, and run the blender for another full blending cycle.
Leaks often start with overfilling. You can avoid this by always keeping ingredients below the MAX line.
For personal blenders, verify that the blade assembly is fully tightened and the gasket is intact.
For full-size blenders, ensure the pitcher is locked into place and the lid is properly secured.
This is usually a sign the motor is working too hard.
The most common causes are:
Stop blending, add liquid if needed, and restart.
The easiest time to clean a blender is immediately after using it.
Once ingredients dry onto the pitcher or cup, cleanup becomes much more difficult.
For a quick clean:
For deeper cleaning, disassemble the pitcher or blade assembly and wash the components separately according to your owner’s manual.
Cleaning right away is one of the simplest ways to keep your blender in great condition for years to come.
Never submerge the motor base in water. Instead, wipe it clean with a damp cloth.
For more detailed cleaning tips, see our complete guide on how to clean a blender.
Professional-quality blending isn’t about complicated techniques.
It’s about implementing a few simple practices:
Those small steps add up to smoother blends, better texture, and a longer-lasting appliance.
Great blending comes down to a handful of repeatable habits—and using the right blender that makes them easy to stick to.
Whether you’re making a quick breakfast smoothie, preparing soup for the week, or experimenting with homemade sauces and frozen desserts, nutribullet® offers options for every kitchen and every skill level.
From personal blenders for single-serve convenience to full-size models built for larger recipes, there’s a nutribullet® designed for your exact blending needs and preferences.
Explore the complete nutribullet blender collection and discover just how much your blender can do.
Yes, for most recipes. Liquid helps create the vortex that pulls ingredients toward the blade. Without enough liquid, ingredients can become stuck, which places unnecessary strain on the motor.
In what order should I add ingredients to a blender?
Start with greens and vegetables, then add fruit, followed by nuts and seeds. Next, pour in your liquid up to the MAX line, add any protein powders or supplements, and finish with ice on top. This layering order helps ingredients move efficiently toward the blade for a smoother blend.
Absolutely. Frozen fruit helps create thicker, colder smoothies without watering them down. Just make sure you include enough liquid.
Most smoothies, sauces, and dressings blend completely in under a minute. Thicker recipes may require a bit longer. Blend until the desired texture is reached, but avoid unnecessarily long, continuous runs.
In a personal blender, the answer is always no. Always allow hot soups and cooked ingredients to cool before blending in a personal blender. Hot liquids create steam and pressure inside a blender, which can lead to spills, splattering, or injury when opened.
If you’re using a full-size blender with a vented lid, you can blend hot and warm ingredients. Just make sure all ingredients sit below the MAX fill line, and that the vent cap is opened enough to allow steam to escape.
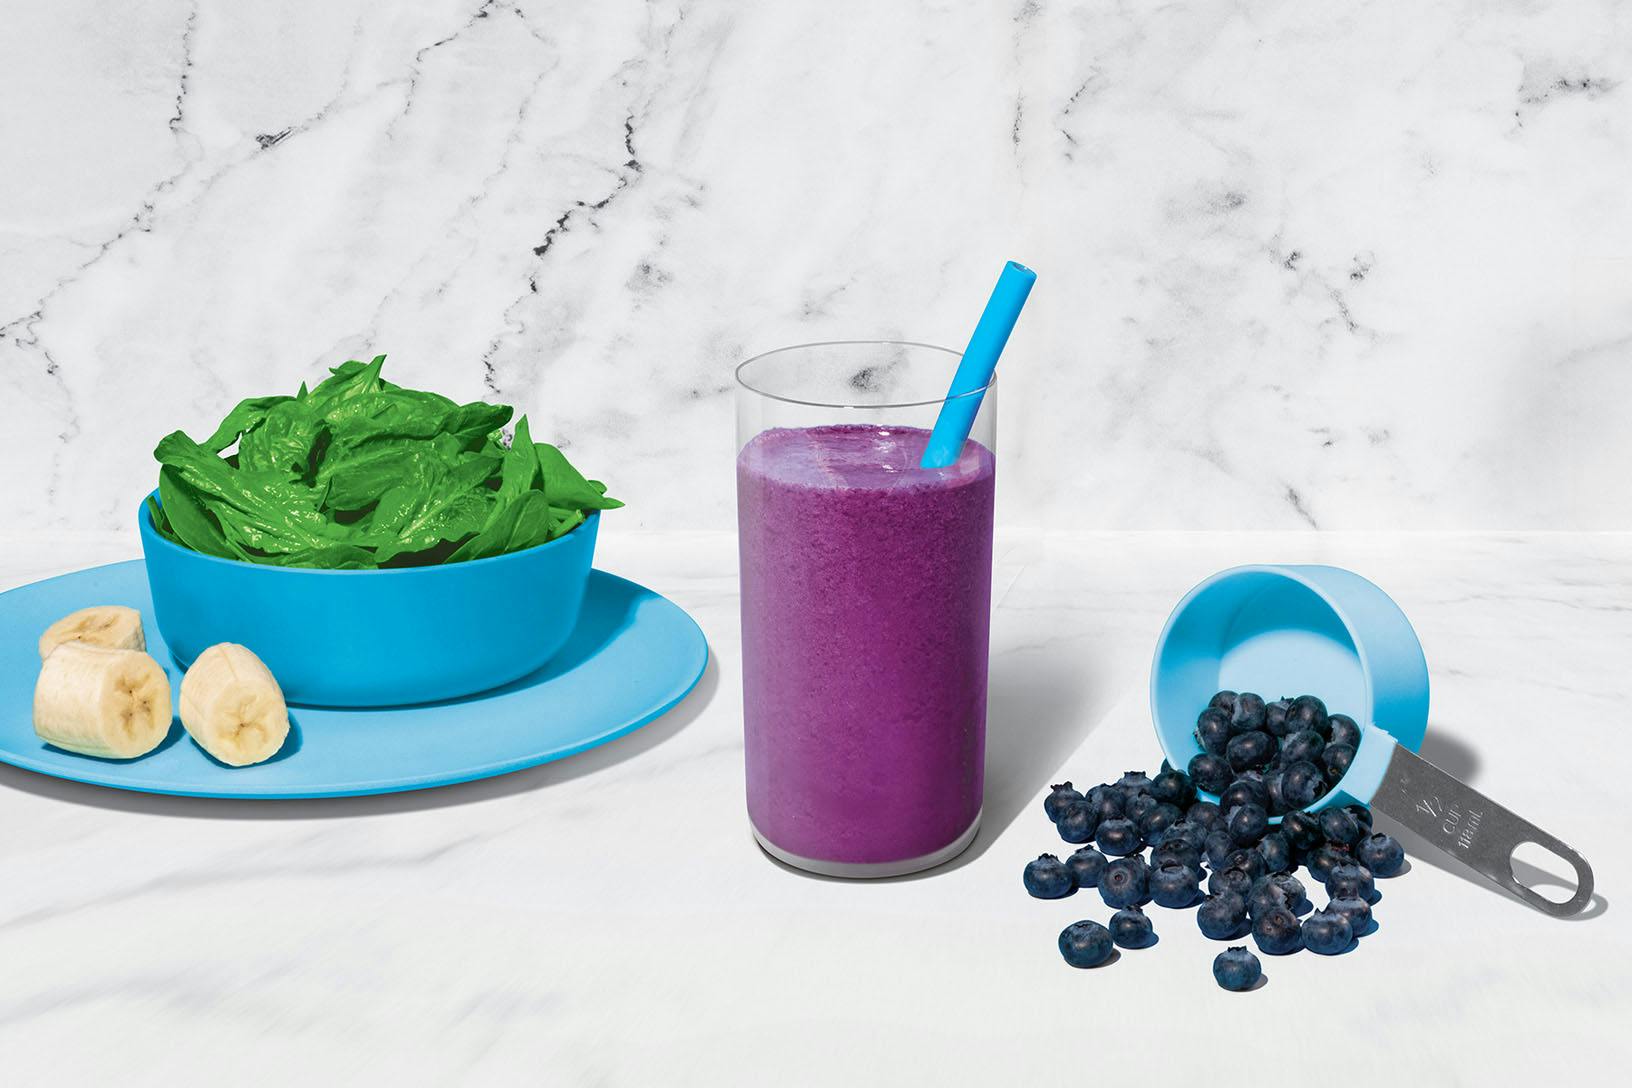
Is there such a thing as a perfect smoothie? This sweet medley certainly makes a strong case. With a classic combination of blueberries, banana, and spinach, this superstar smoothie provides a powerful nutrient boost!
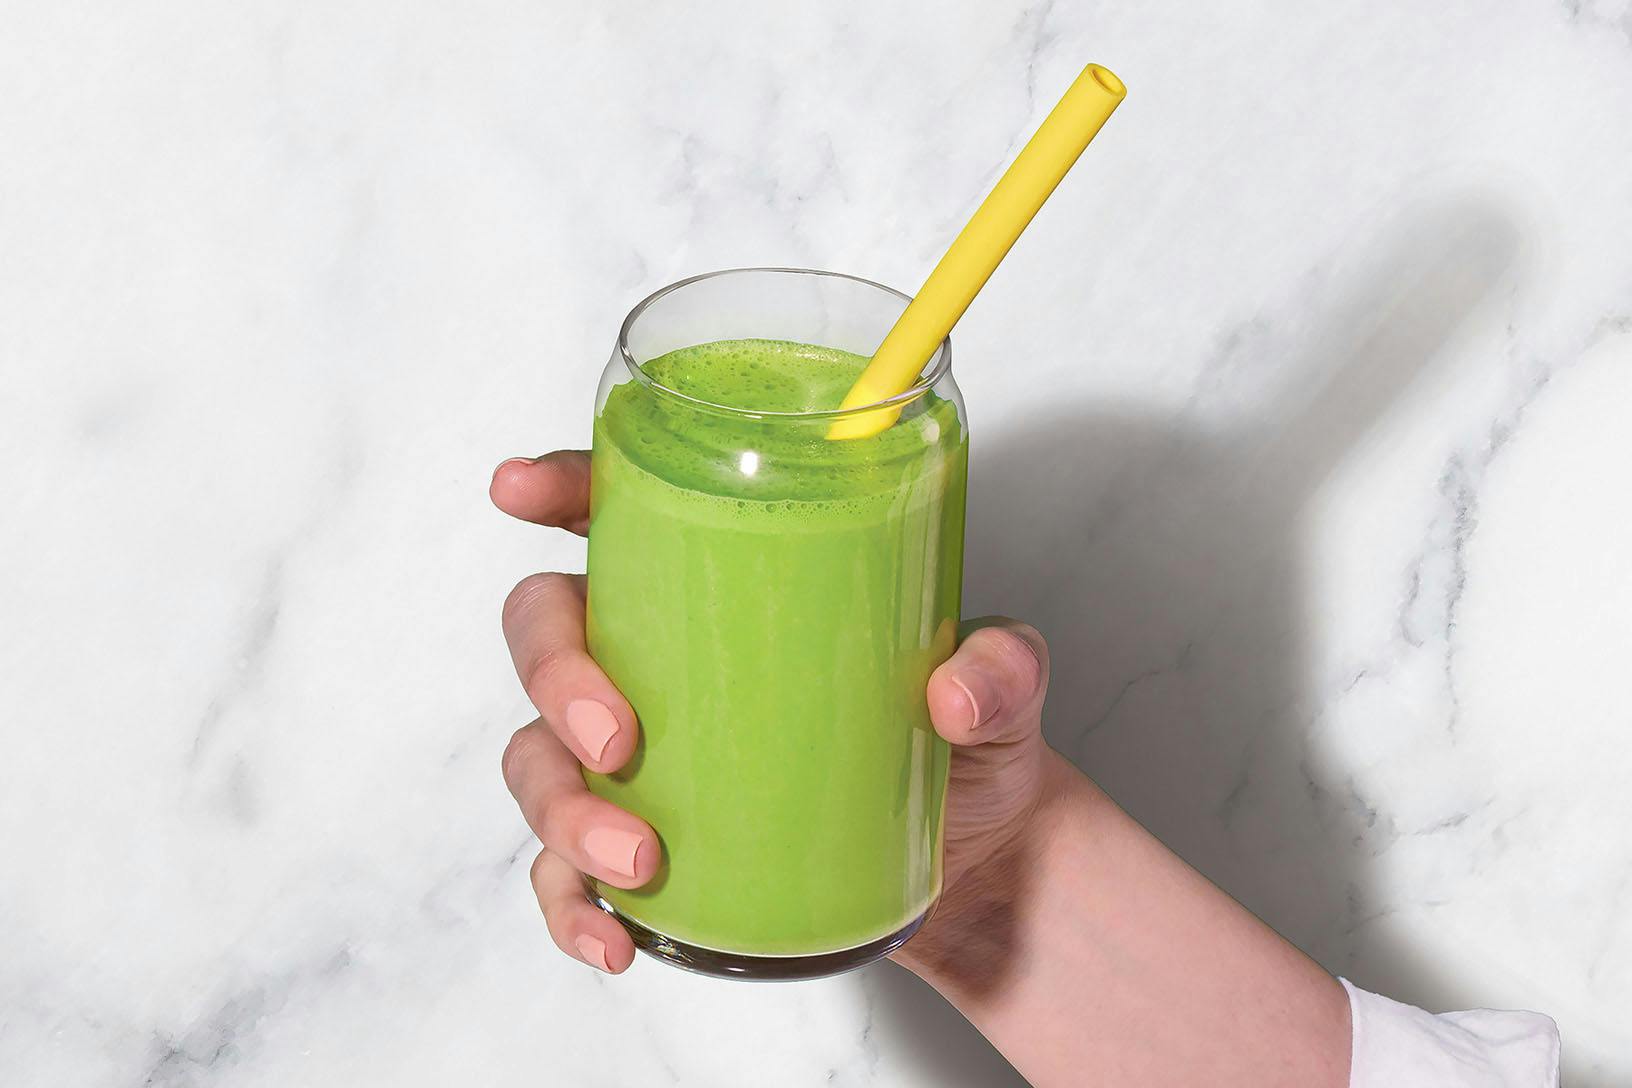
Consider this blend the little black dress of nutribullet smoothies: it never goes out of style. To help keep your energy stable throughout the day, aim to balance your meals and snacks with high-quality protein, healthy fats, and fiber-filled carbs – like this combo of Greek yogurt, peanut butter, fruit, and veggies. There’s a reason this one is always on-trend.
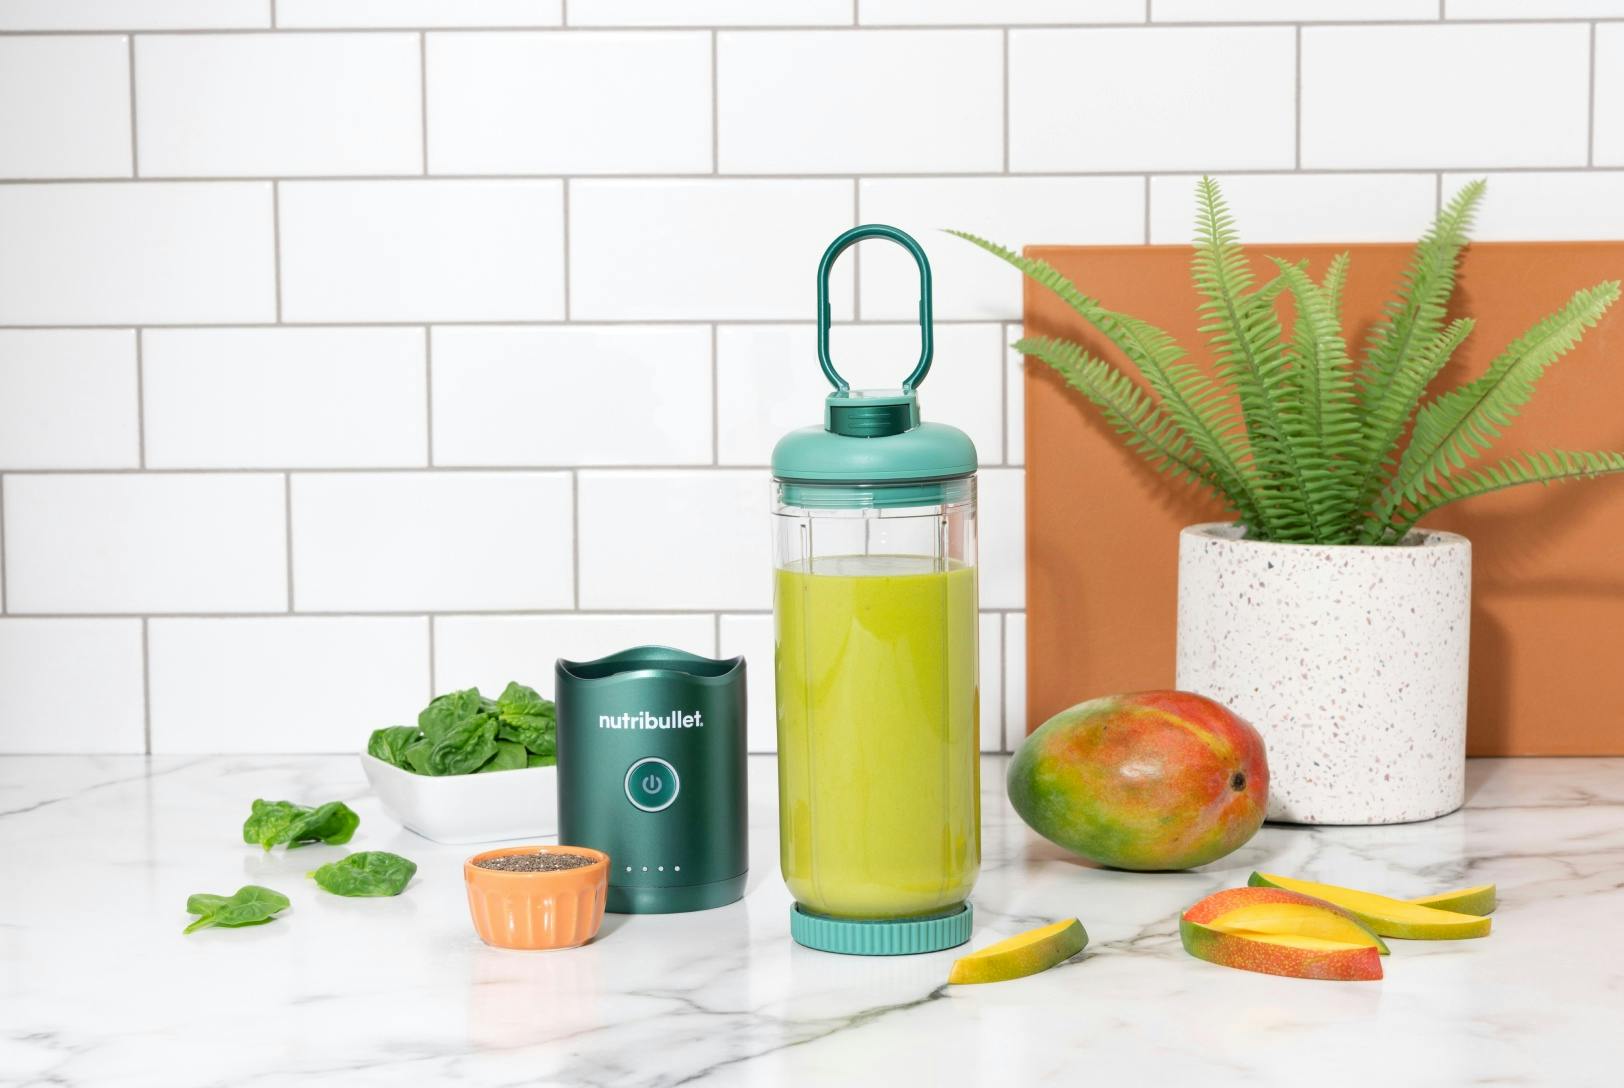
Start your day on a high note with this nutritiously cheerful blend of greens, mango, banana, and chia seeds.