FREE shipping on US orders over $45!
Your cart is empty!
FREE 1-year warranty on all blenders and juicers
More to Consider


Taxes and discounts calculated at checkout.


Free shipping on US orders over $45.
Free 1-year warranty on all blenders and juicers.

FREE shipping on US orders over $45!
FREE 1-year warranty on all blenders and juicers
More to Consider
Taxes and discounts calculated at checkout.
Vanessa Spilios
September 2, 2026

Vanessa Spilios
Vanessa Spilios – Senior Product Analyst Vanessa received her culinary training at Boston University and has over a decade of experience developing small kitchen appliances. As a Senior Analyst in nutribullet's n.b. lab, she's engaged in a wide range of product development activities from concept to launch, including testing, developing recipes, and creating demos for customers and partners. Vanessa enjoys connecting with people through food and cooking for her family with fresh ingredients from her garden.
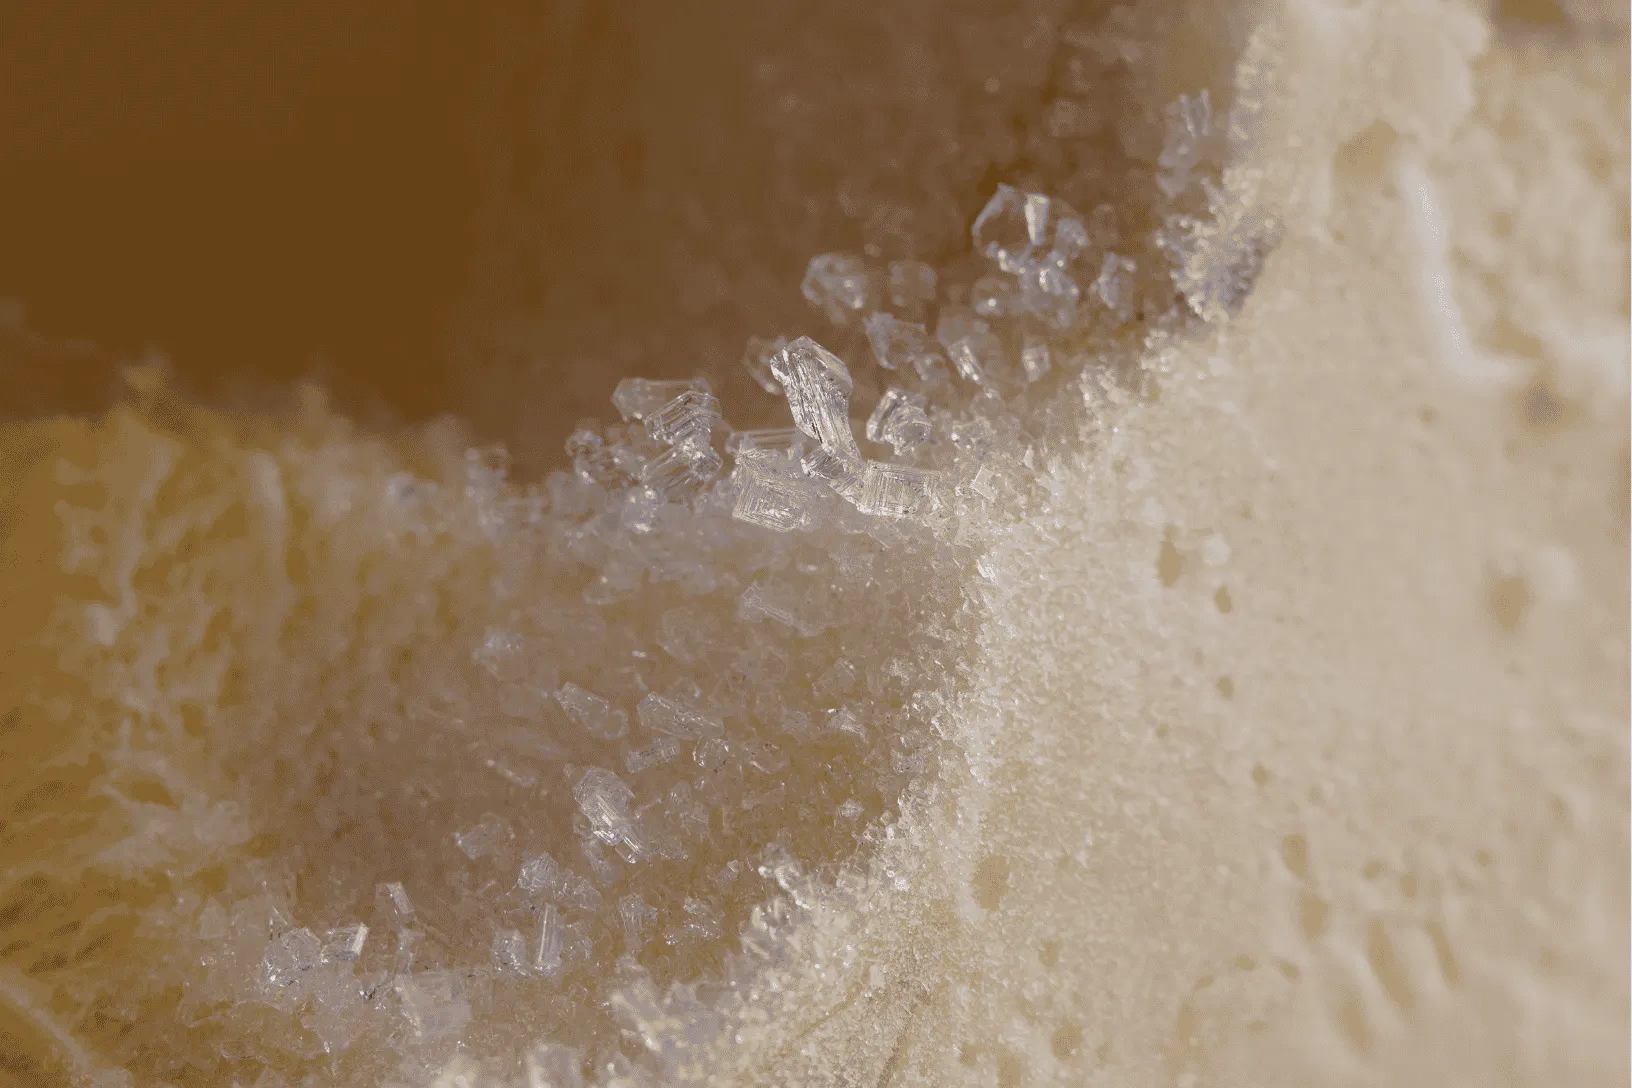
If your homemade ice cream comes out icy, grainy, crunchy, or harder than expected, the most likely culprit is the formation of large ice crystals. Homemade ice cream becomes icy when too much water freezes into crystals that grow larger than they should.
Several things can contribute to that problem, including a recipe with too much water, an unbalanced ratio of fat and sugar, slow or inconsistent freezing, insufficient processing, or temperature changes during storage.
The good news? An icy batch doesn’t necessarily mean you’ve done everything wrong. With the right recipe, preparation method, freezing process, and equipment, you can create a smoother, creamier frozen dessert at home.
The key is controlling ice crystal formation and understanding the science of ice: how ice crystals form and how ice crystal size affects texture. Smaller, more evenly distributed ice crystals generally create a smoother texture, while larger crystals produce the coarse, icy mouthfeel you notice when something has gone wrong.
Here’s why homemade ice cream gets icy, what you can do to rescue a batch, and how to prevent the problem next time.
An icy texture usually comes down to some combination of the recipe, preparation process, freezing conditions, and storage.
Water is one of the biggest factors behind icy homemade ice cream.
Ingredients such as fresh fruit, low-fat dairy, coffee, juice, and some plant-based milks can add significant amounts of water to a frozen-dessert base. That’s not necessarily a problem—the recipe simply needs to be formulated around those ingredients.
Problems can arise when you add extra liquid to a recipe to increase the yield or make the mixture easier to blend. A higher water content means more water is available to freeze, which can contribute to larger ice crystals and a harder texture.
This is especially important when making fruit-forward desserts. Fresh fruit can contain a surprising amount of water, so simply adding fruit to a standard ice cream base without adjusting the rest of the recipe can change the final texture.
The easiest solution is to follow a frozen-dessert recipe developed for the ingredients and appliance you’re using rather than improvising proportions.
Ice cream texture isn’t determined by one ingredient. Fat, sugar, proteins, and other dissolved solids all influence how much of the water in the mix freezes and how the finished dessert feels in your mouth.
That’s why seemingly small substitutions can have a bigger impact than you might expect.
For example, dramatically reducing the sugar in a recipe or replacing heavy cream with skim milk or another much lower-fat option changes the composition of the base. Similarly, adding extra liquid ingredients can dilute the mixture.
That doesn’t mean you can’t customize homemade ice cream. It simply means that substitutions are best made using a tested recipe designed around those ingredients.
If you want lower-sugar, dairy-free, high-protein, or fruit-based ice cream, start with a recipe created for that style of frozen dessert instead of making several substitutions at once.
Before your ice cream ever reaches the freezer, the base needs to be properly prepared.
A smooth, evenly combined base helps distribute the ingredients and water consistently. If ingredients aren’t thoroughly incorporated, the mixture may freeze unevenly and produce an inconsistent texture.
The freezing process matters, too. For nutribullet Chill recipes, for example, the dessert base is prepared in the Pint Cup, covered with the lid, and frozen for at least 24 hours before processing.
Generally speaking, slower freezing gives ice crystals more time to grow as water molecules join them, while rapid freezing tends to create small ice crystals.
Processing also matters. Movement during freezing helps distribute the frozen mixture and break up developing ice crystals.
That said, an ice cream maker isn’t a magic fix for a poorly balanced recipe. Both the recipe and the processing method matter. Starting with the right ingredient ratios is just as important as using the right equipment.
Your ice cream can start out beautifully creamy and become icy later.
One common reason is recrystallization. When ice cream partially melts and then freezes again, some of the smaller ice crystals can melt and form new ice crystals that become larger. Over time, that can create the grainy or crunchy texture associated with freezer burn or poorly stored ice cream.
Common causes include:
For the best texture, keep homemade ice cream in an airtight container in a consistently cold part of the freezer and minimize temperature fluctuations.

The best way to fix icy homemade ice cream depends on whether it was just processed, has frozen solid, or developed ice crystals after several days in storage.
If your homemade frozen dessert comes out dry or crumbly rather than smooth and creamy, don’t immediately throw it away.
Some frozen-dessert appliances are specifically designed to allow a second processing cycle. If using the nutribullet Chill, it’s recommended to stir a dry or crumbly dessert and run it through a second Ice Cream cycle, which can help create smoother ice cream with a creamier texture.
The important part is to follow the instructions for your particular appliance. Don’t repeatedly process a frozen dessert simply because it looks dry if your machine doesn’t recommend doing so.
Not every hard scoop is an icy scoop.
Homemade ice cream can become quite firm in the freezer, particularly when it has been stored for several hours or days. If the texture is smooth but simply difficult to scoop, give it a brief period to soften before serving.
The key word is brief.
You don’t want the entire container sitting on the counter until the edges melt. Once the ice cream melts and is returned to the freezer, you’re creating the temperature fluctuation that can contribute to larger ice crystals.
There’s also an important difference between firmness and iciness:
If your ice cream is smooth but hard, you may simply need to give it a little time before scooping.
Sometimes an icy batch is simply too far gone.
If large ice crystals have formed throughout the entire dessert, there may not be a way to return the texture completely to the creamy consistency you originally wanted.
Rather than wasting it, consider repurposing the batch.
Icy ice cream can still work well in:
Then adjust the recipe or process before making your next batch.
The easiest way to fix icy ice cream is to keep ice crystals small by limiting excessive ice-crystal growth in the first place.
Use this checklist before your next batch:
The biggest takeaway is simple: don’t treat the recipe and the machine as separate variables. A frozen dessert recipe is developed around a particular balance of ingredients and a particular method of processing.

Yes—but it isn’t a guarantee. So, is an ice cream maker worth it?
A dedicated ice cream maker provides a more controlled and repeatable way to process an ice cream mix than improvised methods such as periodically taking a container out of the freezer and stirring it by hand.
Movement during processing helps distribute the frozen mixture and break up developing ice crystals. The nutribullet Chill, for example, uses its 360DoubleCream™ Blade Technology, which is a four-edge blade with dual rotation designed to churn ingredients from multiple angles.
The Chill also automates the processing step with dedicated programs for different frozen desserts.
But an appliance can’t compensate for every recipe problem.
If the base contains too much water or the ingredient ratios are significantly out of balance, even a good ice cream maker may produce a less-than-ideal result.
Think of the machine as a way to make ice cream at home more consistently, not as a substitute for a properly formulated recipe.
If you’ve been frustrated by inconsistent homemade ice cream, a dedicated personal single-serving ice cream maker can take some of the guesswork out of the process.
The nutribullet Chill Ice Cream Maker is designed specifically for individual frozen desserts. Instead of churning a large batch of ice cream in a traditional ice cream maker, you prepare your base in an individual Pint Cup, freeze it for at least 24 hours, and then process it using one of the machine’s dedicated programs.
The Chill currently offers five frozen-dessert programs:
After the required 24-hour freeze, processing takes approximately 3 to 4½ minutes, depending on the program.
That means ice cream making follows a fairly standardized workflow: prepare the base, freeze it, select the appropriate program, and let the machine do the churning.
The Chill is not designed to magically repair every icy recipe. The best results still start with a properly balanced, fully frozen base and the correct program. What the machine does is simplify and standardize the processing step, which can make homemade frozen desserts much more repeatable.
The Chill also makes one 16-ounce pint per batch, roughly two to three servings depending on scoop size, and comes with two Pint Cups so you can keep another flavor frozen and ready to process.
If you’re regularly making homemade ice cream and want a more predictable process, a dedicated appliance can be a worthwhile addition to your kitchen.
Shop the nutribullet Chill Ice Cream Maker today!
If you’re struggling with icy homemade ice cream, one of the easiest ways to troubleshoot the problem is to start with one of the tested ice cream recipes developed for your appliance.
The nutribullet Chill recipe collection includes a wide range of frozen desserts, including classic ice creams, gelato, sorbet, frozen yogurt, dairy-free options, and smoothie bowls.
There are plenty of flavors to choose from, including Classic Vanilla Ice Cream, Chocolate Gelato, Mango Sorbet, Strawberry Frozen Yogurt, and much more.
You can also check out the recipe templates for ice cream, gelato, sorbet, frozen yogurt, and smoothie bowls, giving you a framework for experimenting with your own flavors while maintaining ingredient proportions appropriate to each program.
Starting with a tested recipe gives you a reliable baseline for the ingredient ratios, freezing time, serving size, and program. Once you know what a properly processed batch looks and feels like, you can begin experimenting with flavors and substitutions more confidently.
So, why is my homemade ice cream icy?
Usually, the answer is that ice crystals have grown too large.
That can happen because the base contains too much water, the fat and sugar aren’t properly balanced, the ice cream freezes or processes too slowly, the base wasn’t prepared correctly, or the ice cream has repeatedly softened and refrozen during storage.
The good news is that most of these problems are preventable.
Start with a tested recipe, measure carefully, follow the recommended freezing and processing instructions, and store the finished dessert in consistently cold conditions.
And if homemade ice cream has become a regular part of your kitchen routine, a dedicated appliance such as the nutribullet Chill can make the processing step much more consistent. With dedicated programs and a standardized freeze-and-churn process, it gives home cooks a simpler way to make creamy frozen desserts without relying on repeated hand-stirring.
When in doubt, start with a tested recipe, follow the process closely, and make your next batch your best ice cream yet.
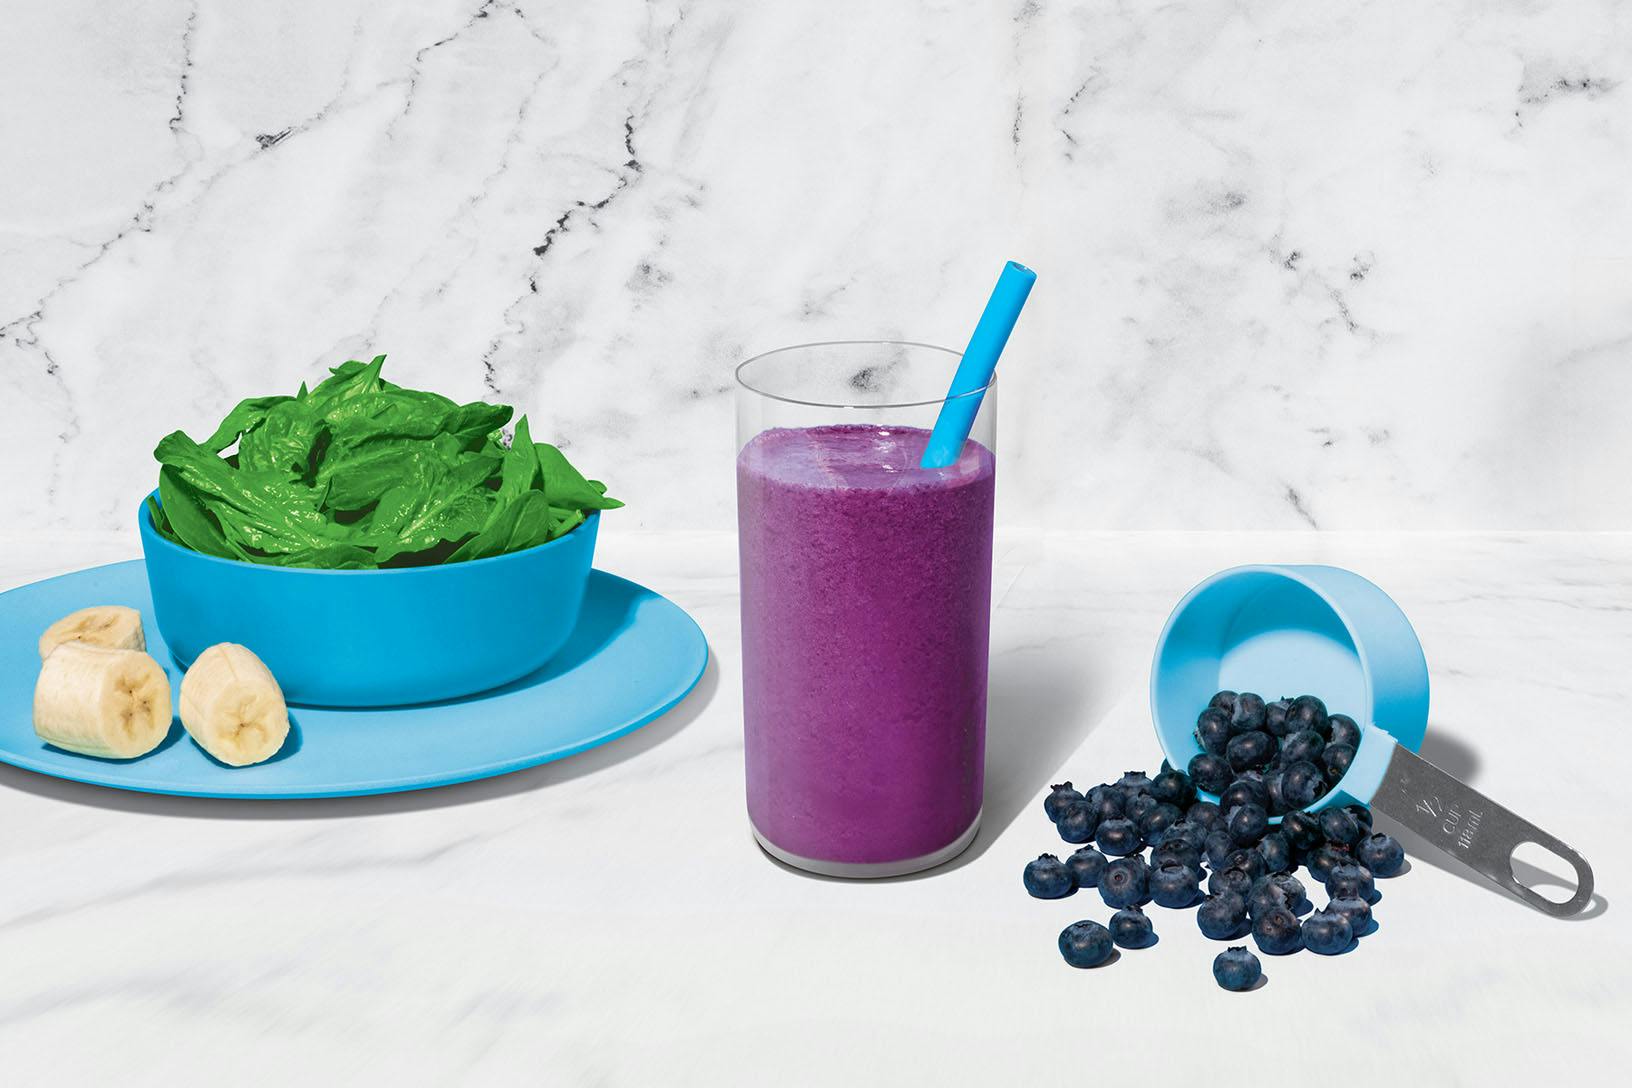
Is there such a thing as a perfect smoothie? This sweet medley certainly makes a strong case. With a classic combination of blueberries, banana, and spinach, this superstar smoothie provides a powerful nutrient boost!
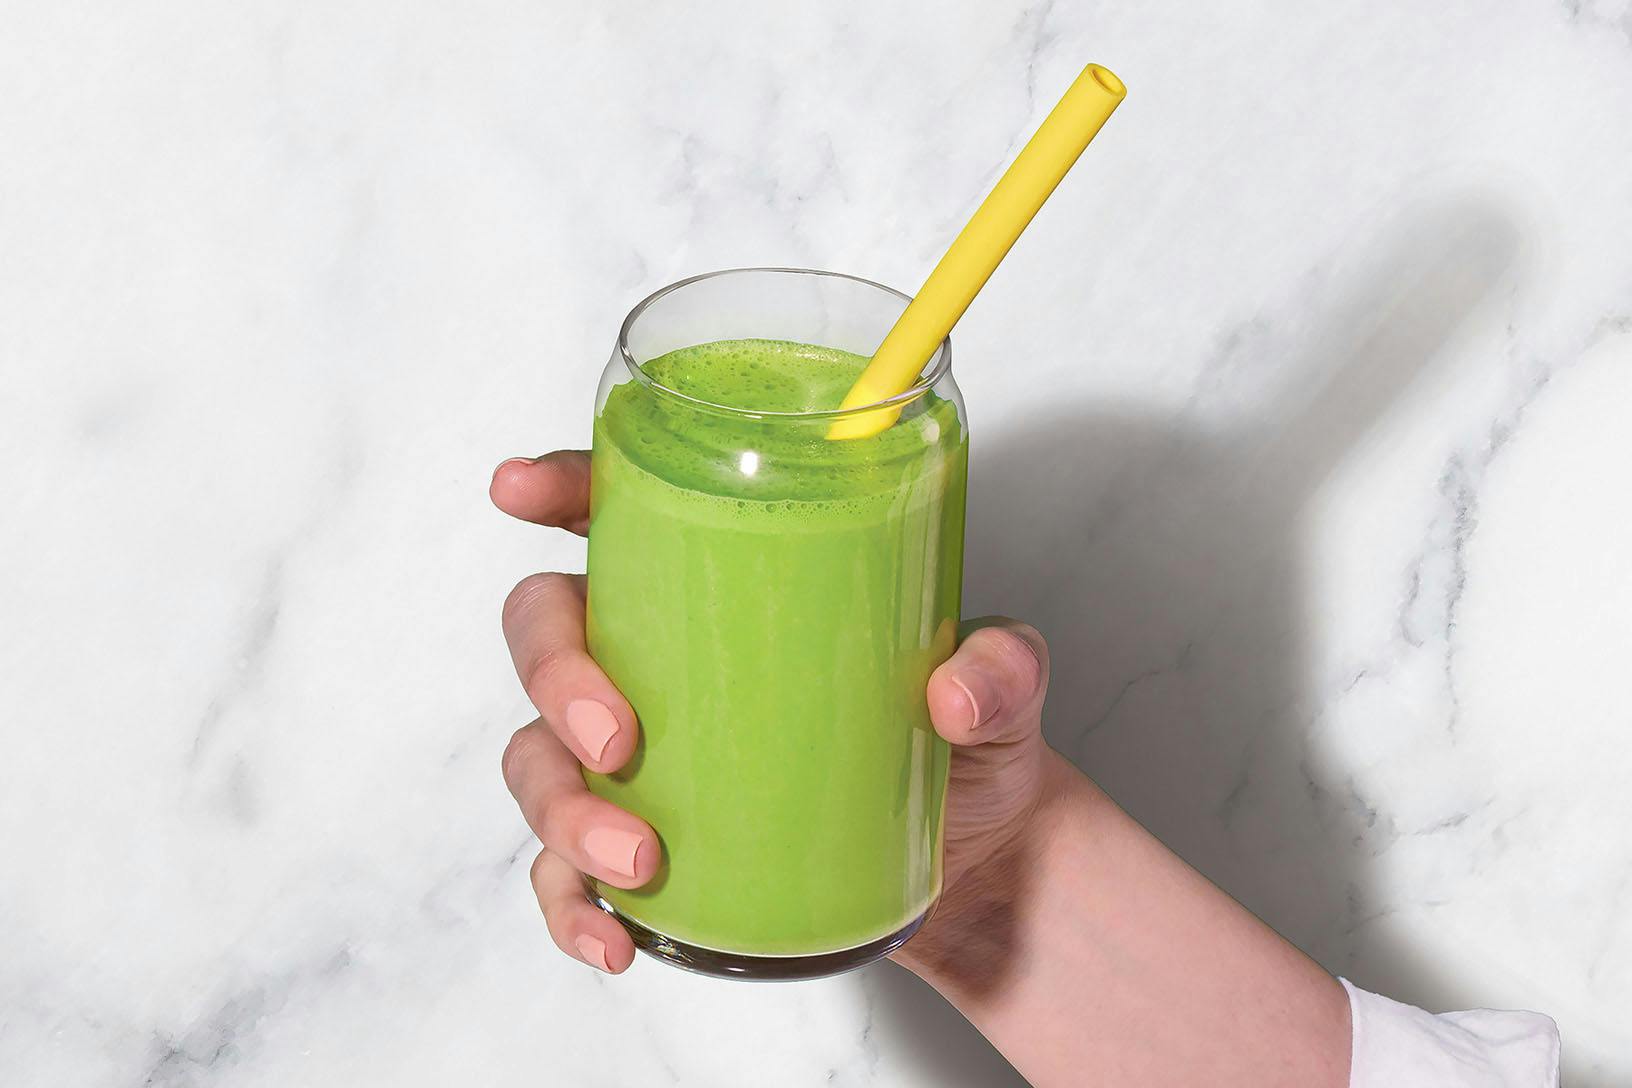
Consider this blend the little black dress of nutribullet smoothies: it never goes out of style. To help keep your energy stable throughout the day, aim to balance your meals and snacks with high-quality protein, healthy fats, and fiber-filled carbs – like this combo of Greek yogurt, peanut butter, fruit, and veggies. There’s a reason this one is always on-trend.
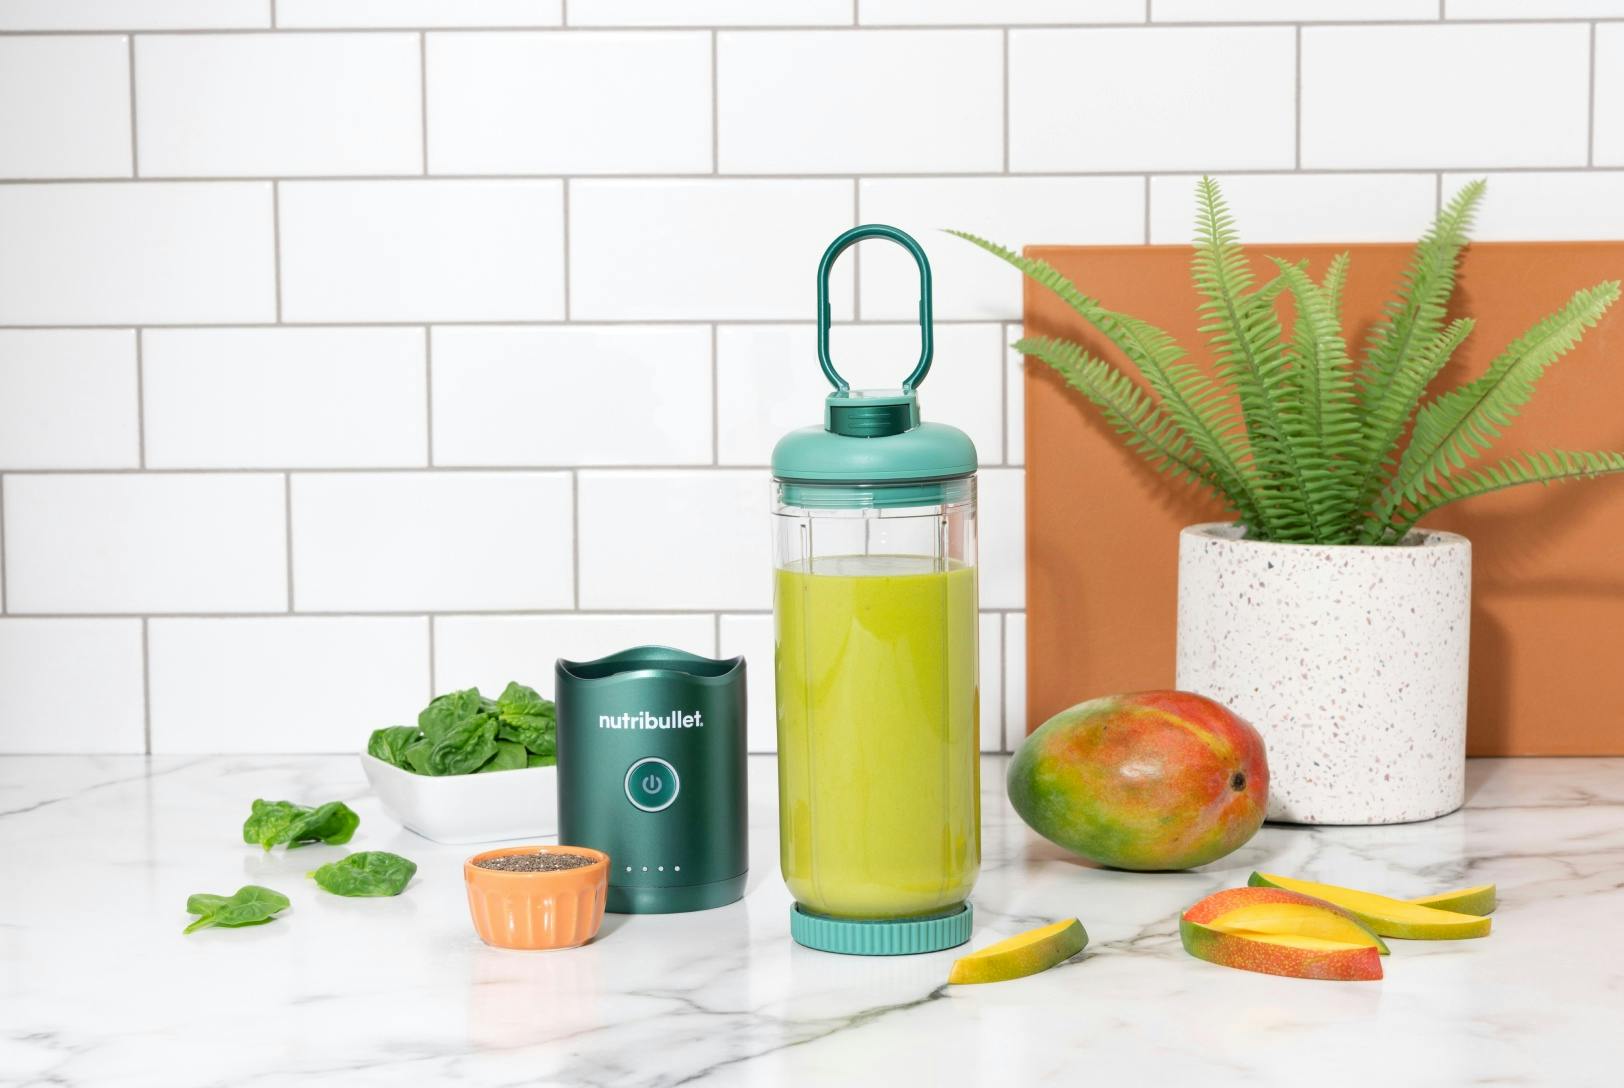
Start your day on a high note with this nutritiously cheerful blend of greens, mango, banana, and chia seeds.