FREE shipping on US orders over $45!
Your cart is empty!
FREE 1-year warranty on all blenders and juicers
More to Consider


Taxes and discounts calculated at checkout.


Free shipping on US orders over $45.
Free 1-year warranty on all blenders and juicers.

FREE shipping on US orders over $45!
FREE 1-year warranty on all blenders and juicers
More to Consider
Taxes and discounts calculated at checkout.

Lauren Salter
July 22, 2026

Lauren Salter
As Senior Director of Global Product Development, Lauren plays a major role in guiding research, development, manufacturing, and release for every nutribullet® product. She knows every nutribullet® appliance from the inside out and shares this knowledge as a blog contributor, providing expert insights on what our products do, how they work, and how to use them for maximum benefit in your own kitchen.
A little blender maintenance goes a long way.
While it’s easy to think of maintenance as another chore, it’s really an investment in the performance and longevity of your appliance. A blender that receives basic care after each use can deliver years of reliable blending, while one that’s neglected may develop dull blades, lingering odors, leaks, and premature wear.
The good news? Most of the habits that make the biggest difference take less than a minute.
This guide covers simple, practical blender maintenance tips—from daily cleaning and blade care to motor protection and smart usage habits—so you can keep your blender running smoothly for years to come.
When it comes to blender maintenance, the habits you practice after each use matter more than anything else. A few seconds of proper care today can help prevent residue buildup, odors, and unnecessary wear down the road.
Food residue that dries inside the blending pitcher, cup, or blade assembly becomes much harder to remove later. Over time, stuck-on residue can contribute to staining, odors, and increased wear on the blender blades.
Fortunately, learning how to clean a blender doesn’t have to be complicated.
Simply add room temperature water and a drop of dish soap, blend for 20 to 30 seconds to remove food residue, then rinse thoroughly. For personal blenders, use the same quick-clean method with the cup and blade assembly.
The entire process takes less than a minute and can significantly reduce long-term buildup.
The motor base should never be submerged in water or placed in the dishwasher.
Because it houses the blender’s motor and electrical components, exposure to water can cause permanent damage and may void the warranty. Instead, always unplug the blender and wipe the motor base with a damp cloth as needed.
This applies to all nutribullet blender models.
Trapped moisture is one of the most common causes of unpleasant odors.
After washing, allow the blending pitcher or cup to air dry completely before storing it. Leaving the lid off until everything is fully dry helps prevent moisture buildup and reduces the risk of mold developing inside sealed containers.
Even with consistent daily cleaning, small amounts of residue can accumulate over time. A weekly or monthly deep clean is part of good regular maintenance and helps remove buildup that quick-rinsing may miss.
If your blender develops lingering odors or tough stains, a deeper cleaning cycle can help.
Blend a vinegar solution of three-quarters of a cup of white vinegar and one-quarter cup of room temperature water on high for about 30 seconds, then rinse thoroughly. Alternatively, a mixture of baking soda and water can help freshen the container and neutralize odors.
These gentle cleaning methods help restore freshness without damaging the blending pitcher or blade assembly.
For a more thorough cleaning, remove the blade assembly from the pitcher – if possible (some pitcher models have the blade affixed to the base and cannot be separated from it) – or cup, and wash it separately.
Soak it briefly in warm, soapy water, then gently scrub around the blender blades with a soft brush before rinsing thoroughly. Always allow the assembly to dry completely before reattaching it.
This extra step helps prevent buildup around the blade hub and gasket.
The blade assembly plays a major role in both blending performance and overall blender health. Keeping it in good condition helps protect the motor and maintain consistent performance.
Take a close look at the blade assembly every few months.
Watch for signs of dullness, chipping, rust, excessive wobble, or unusual grinding sounds during operation. If the blade no longer rotates smoothly or appears damaged, replacement may be necessary.
Catching blade issues early helps prevent additional strain on the motor.
A blender should never operate without ingredients or liquid inside.
Running the blade assembly in an empty vessel creates unnecessary stress on both the blades and the motor. Always make sure there is some liquid or food present before starting a blend cycle.
Large frozen fruit chunks, dense root vegetables, and similarly hard ingredients may place more stress on the blade assembly during startup.
Taking a few moments to cut ingredients into slightly smaller pieces helps improve blend consistency while reducing wear on the blades and motor.
If you notice rust, chips, cracks, or visible damage on the blade assembly, it’s best to replace it rather than continue using it.
A damaged blade can reduce blending performance, increase motor strain, and become a potential safety concern.
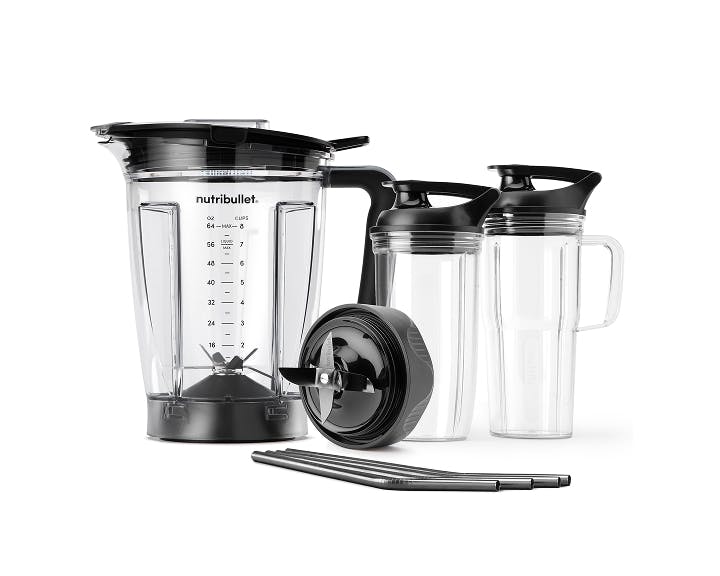
Genuine nutribullet replacement blades and pitchers with attached blades are available through nutribullet’s blender parts and accessories collection. For additional peace of mind, the nutribullet Ultra’s Rapid Extractor Blade includes a 5-year limited warranty.
The motor is the heart of any blender—and typically the most expensive component to replace. A few smart habits can help extend its lifespan significantly.
When using a variable-speed blender, avoid jumping immediately to maximum power on dense blends.
Starting at a lower speed allows ingredients to begin circulating before increasing power. This creates a smoother vortex and reduces the initial strain placed on the motor.
The MAX line exists for a reason.
Overfilling the blending container forces the motor to work harder than intended and can increase the likelihood of leaks, inconsistent blending, and premature wear.
For best results, always fill the blender jar only up to or below the recommended fill line.
Making several batches back-to-back can generate significant heat inside the motor.
If you’ve been blending particularly dense or frozen ingredients, give the blender at least 15 minutes to cool before starting another heavy-duty session.
Many nutribullet models include thermal protection systems that automatically shut down the motor if it overheats, but avoiding excessive heat buildup is always the better long-term strategy.
Tightly wrapping the power cord around the motor base may seem convenient, but it can gradually weaken the insulation where the cord connects to the appliance.
Store the cord loosely instead, and inspect it periodically for signs of cracking, fraying, or damage.
If you notice any cord damage, discontinue use until the issue is addressed.

Good maintenance doesn’t stop when cleaning is done. Knowing how to use a blender correctly matters just as much, since the way you use it every day also affects how long it lasts.
Well-layered ingredients blend more efficiently especially when you are using a larger full-size blender with a taller pitcher.
For most recipes, including everyday smoothies, start with greens and softer produce, followed by fruit, nuts, or seeds. Add liquid next, then finish with ice or frozen ingredients on top.
This layering technique promotes smoother blending and reduces startup strain on the motor.
Always operate your blender on a stable, level surface.
Uneven surfaces can increase vibration and place unnecessary stress on the motor housing. It’s also important to keep ventilation openings unobstructed by allowing several inches of clearance around the base.
Avoid operating the blender on soft surfaces like towels that can block airflow. If noise is a concern, learn how to make a blender quiet to safely reduce noise with our blog.
Once a month, spend a few minutes inspecting the blender’s key components.
Check the pitcher or cup for cracks, cloudiness, or damage. Inspect the blade assembly for rust, wobble, or wear. Examine the gasket, if present, for deterioration and look over the power cord for signs of damage.
Addressing small issues early can help prevent larger repairs later.
Many common blender problems don’t require replacing the entire appliance.
In fact, issues like leaks, reduced blending performance, or worn seals are often caused by components that can be replaced individually. Blade assemblies, gaskets, cups, pitchers, and lids are all parts that naturally wear over time and may need occasional replacement.
The motor base is typically the last component to fail, especially when the blender has been properly maintained.
If you notice wear on any replaceable component, replacing the individual part is often the simplest and most cost-effective solution. nutribullet offers a variety of genuine replacement blender parts and accessories designed specifically for its blender lineup. And if it does make more sense to upgrade, knowing how to choose a blender can help you find the right fit.
The best blender maintenance routine isn’t complicated.
Cleaning immediately after use, inspecting the blade regularly, avoiding overfilling, allowing the motor to cool between heavy blending sessions, and performing a quick monthly inspection are small habits that can add years to the life of your blender.
Whether you make a daily smoothie or blend just a few times a week, these simple maintenance practices can help keep your nutribullet running at peak performance, from a full-size model to a grab-and-go portable blender.
If your blender needs a replacement part, genuine nutribullet cups, blades, gaskets, lids, and accessories are available directly through nutribullet. And for added confidence, the nutribullet Ultra’s Rapid Extractor Blade includes a 5-year limited warranty.
Explore our full collection of blenders and replacement parts to keep your blending routine running smoothly for years to come.
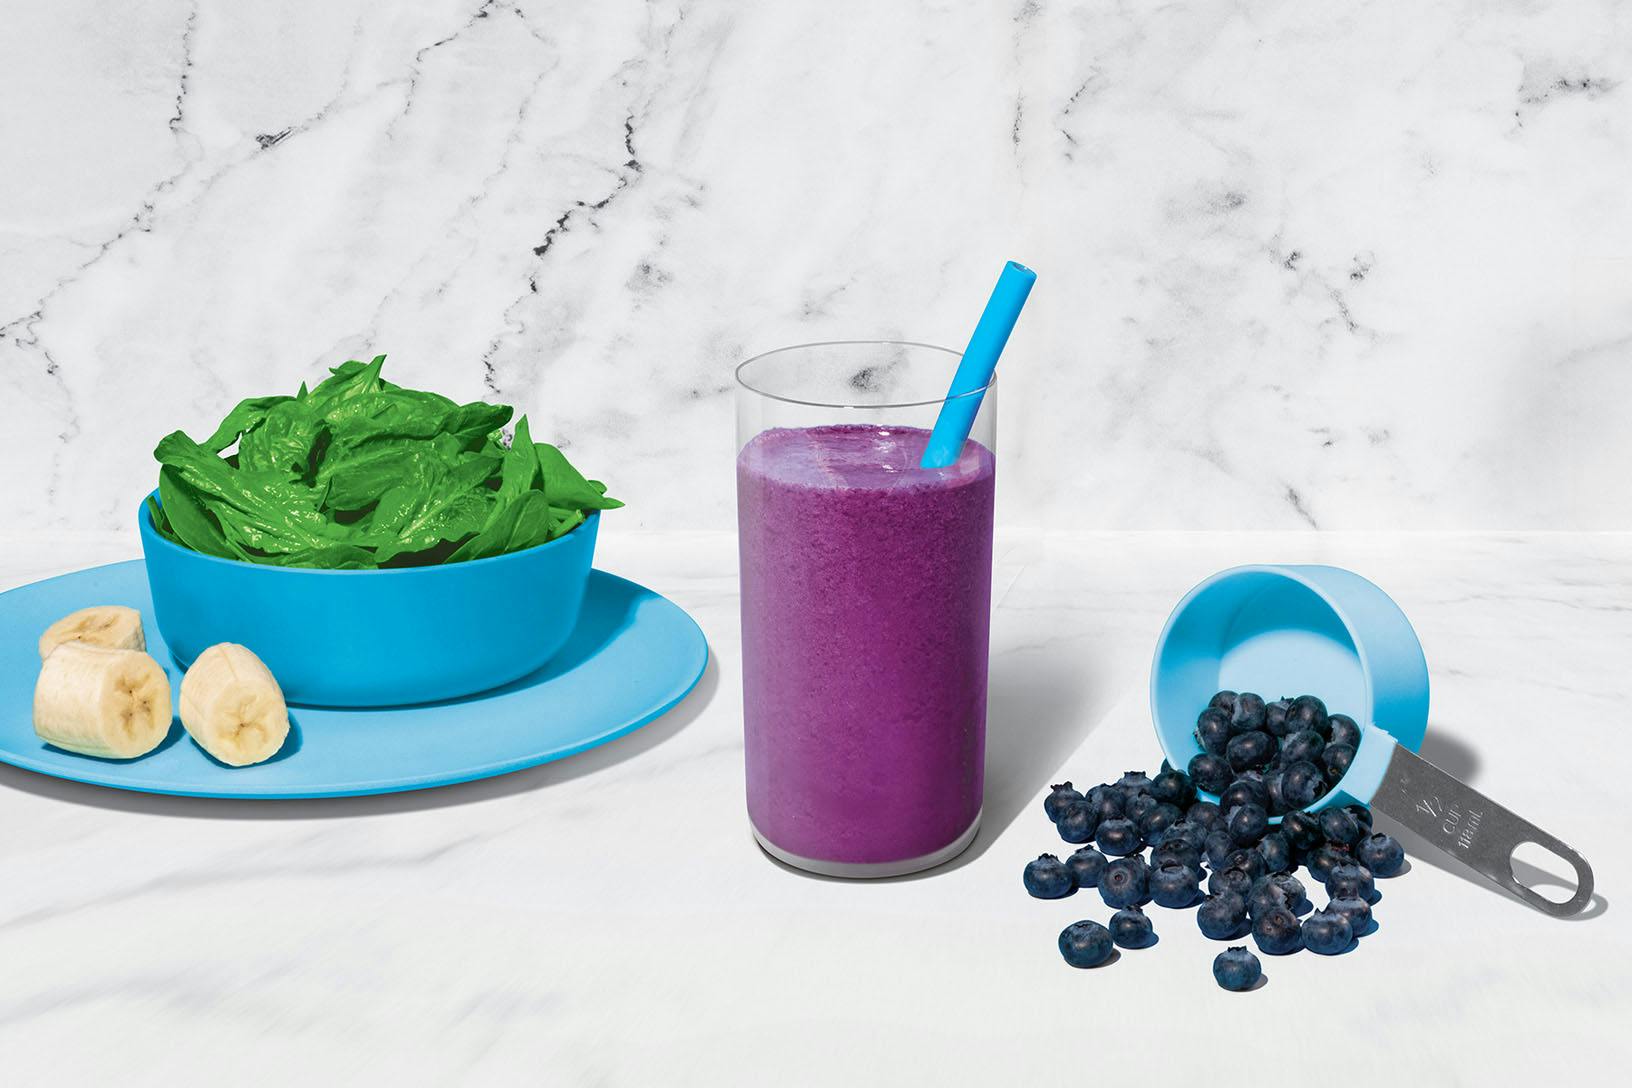
Is there such a thing as a perfect smoothie? This sweet medley certainly makes a strong case. With a classic combination of blueberries, banana, and spinach, this superstar smoothie provides a powerful nutrient boost!
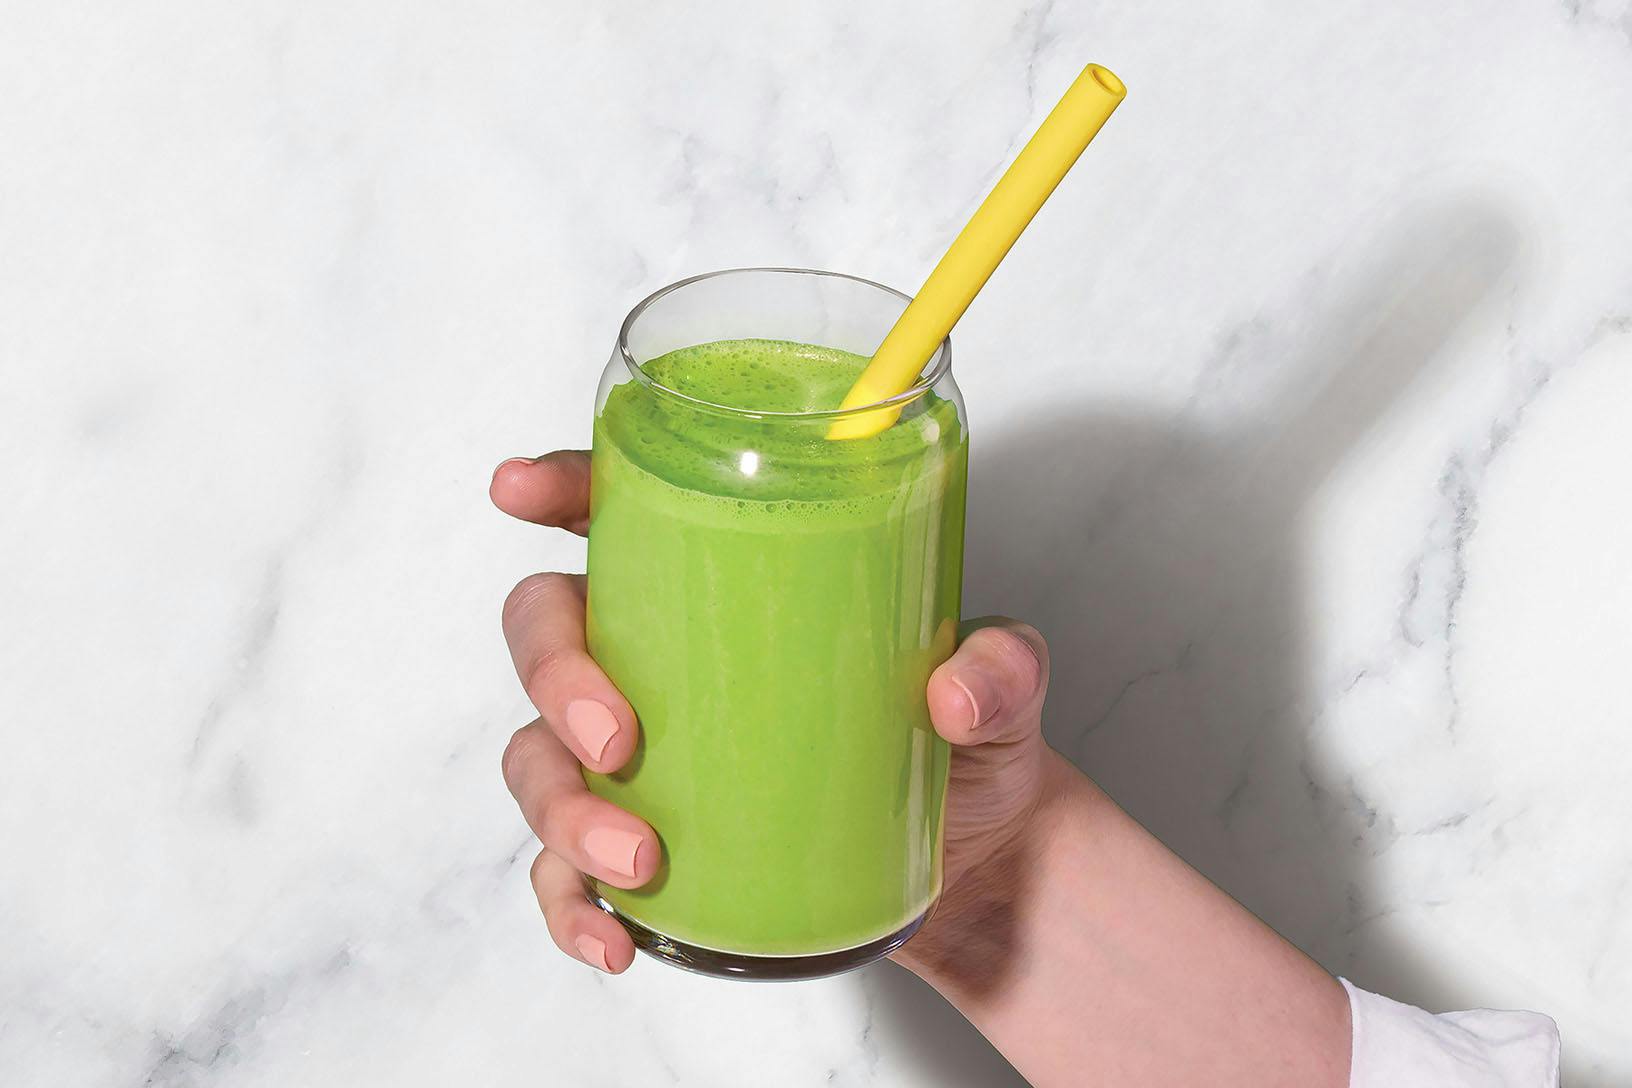
Consider this blend the little black dress of nutribullet smoothies: it never goes out of style. To help keep your energy stable throughout the day, aim to balance your meals and snacks with high-quality protein, healthy fats, and fiber-filled carbs – like this combo of Greek yogurt, peanut butter, fruit, and veggies. There’s a reason this one is always on-trend.
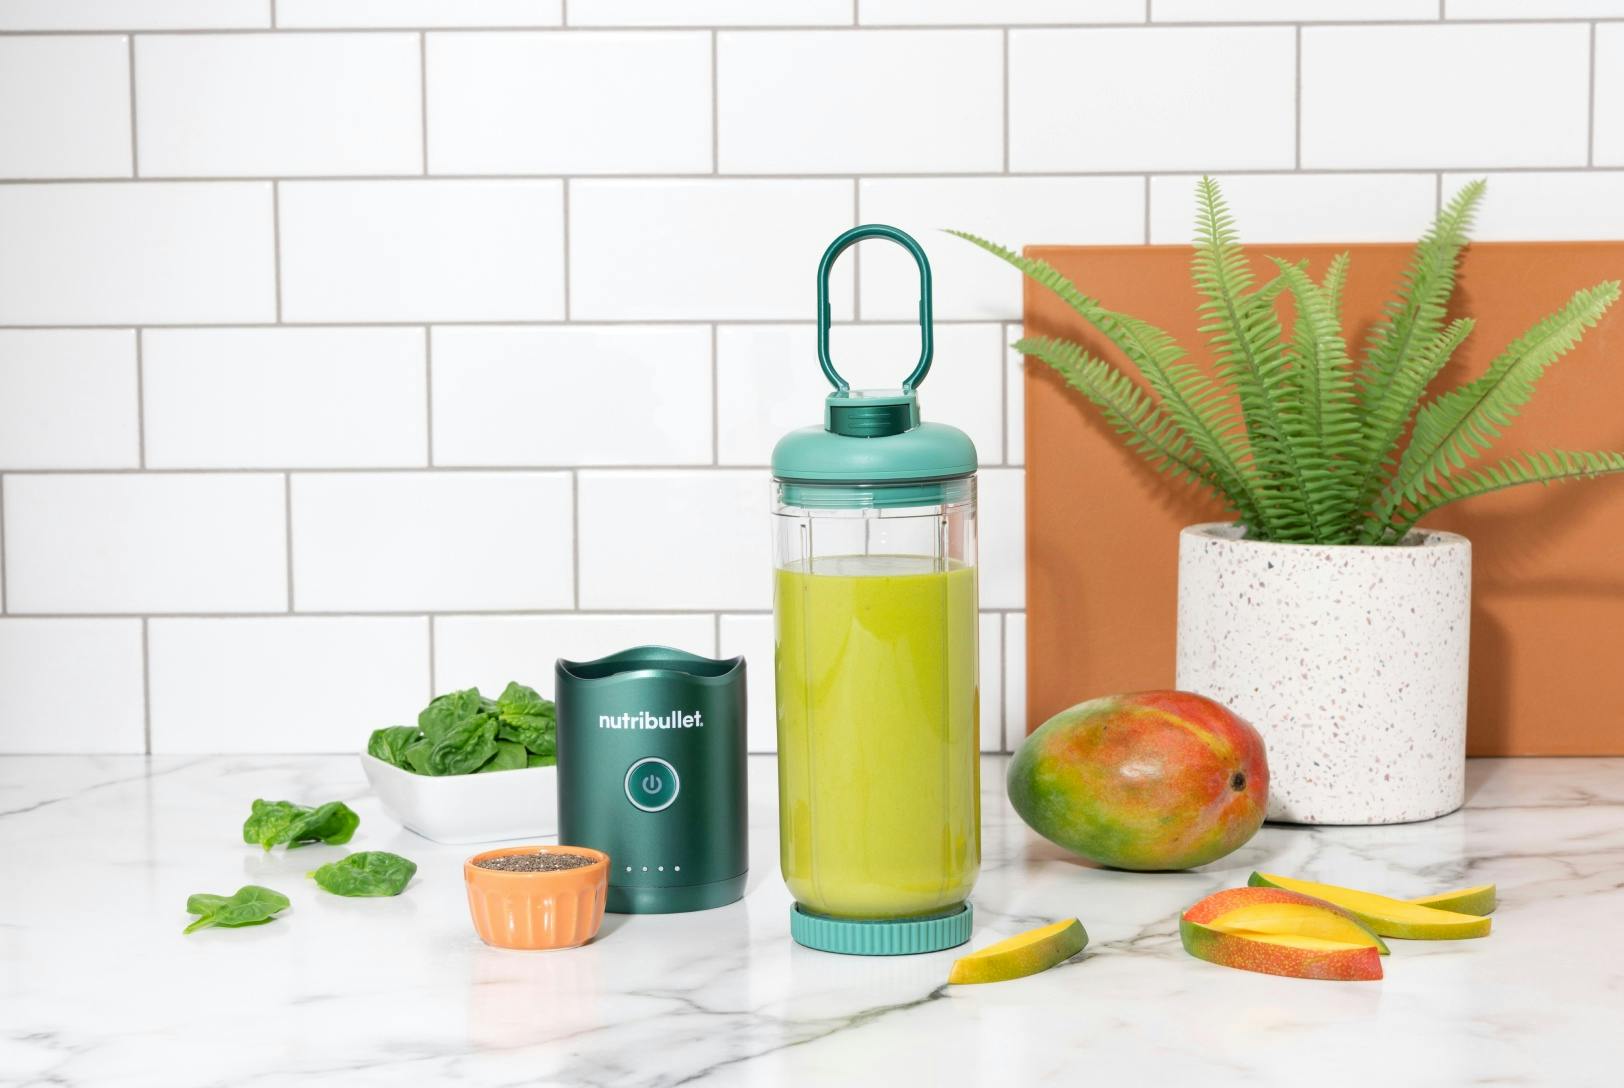
Start your day on a high note with this nutritiously cheerful blend of greens, mango, banana, and chia seeds.